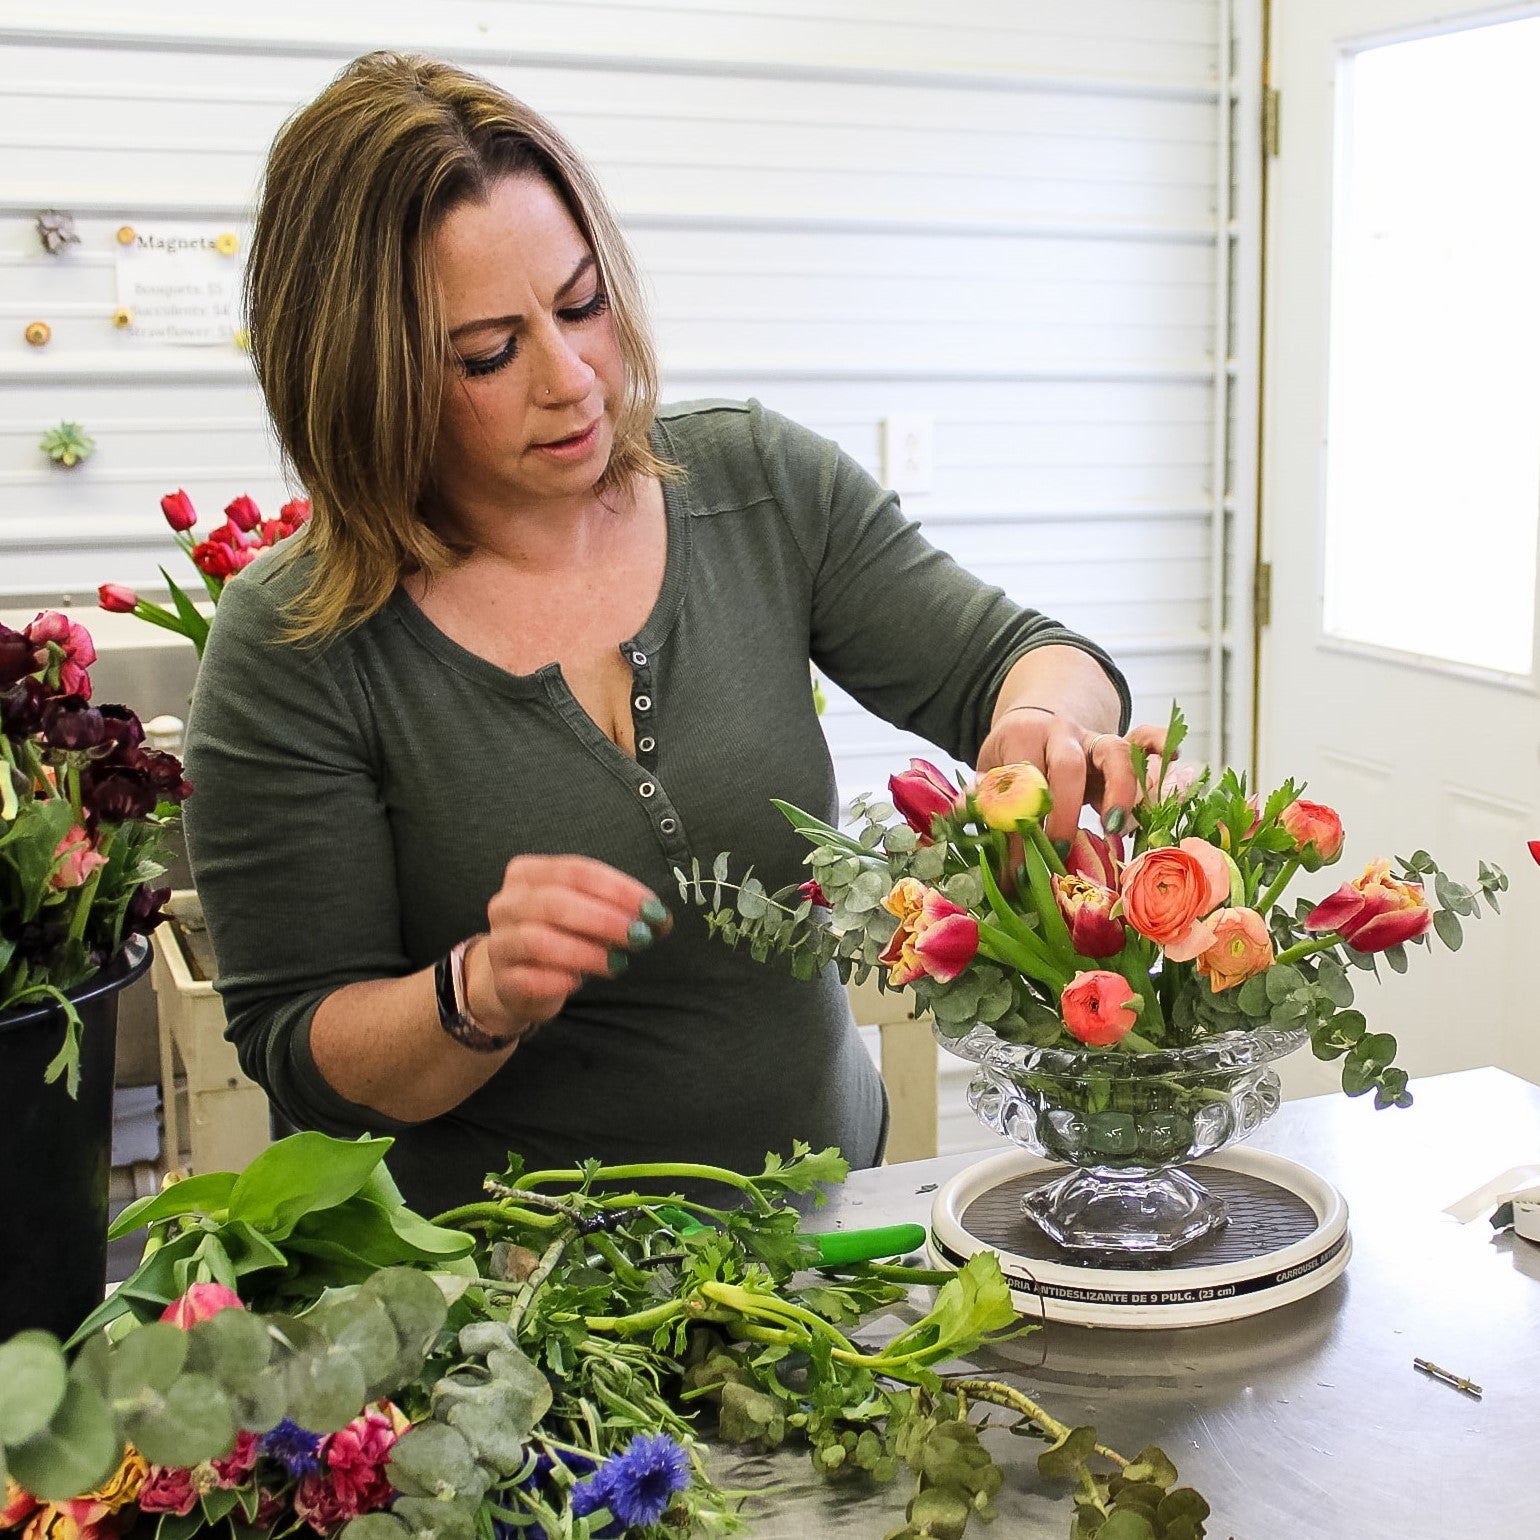
Steph here! I’ll be honest, I never really gave dried flowers much thought until I came back to the farm. Like, I knew they were a thing, I just didn’t see what the big deal was - weren’t flowers better fresh?
While my reasons for loving fresh flowers are endless, it was a few short stems of hydrangea that ignited my appreciation for dried blooms. It was my first winter living back home, and the past 10 years in Charlotte made me a total weenie to Virginia’s strong cold season. I knew it was going to be *months* before the flowers started to fill the cooler and I was honestly a little worried about how I would emotionally cope with the cold.
I remember walking into the shop in late November to find Jess behind the design table with a huge bucket of hydrangea.
“WHERE DID YOU GET THESE?!” I exclaimed.
“They’re ours, I dried them,” she responded.
 |
 |
I’m pretty sure the “mind blown” emoji was inspired by my face. Jess had actually taken some outside and dusted them with a rose gold floral paint, and the warm shimmery heads of these blooms I thought were long gone was more than I could handle. I guess I’d been so focused on a winter without flowers that I didn’t even realize that Jess and the crew had been squirreling flowers in the barn all season long.
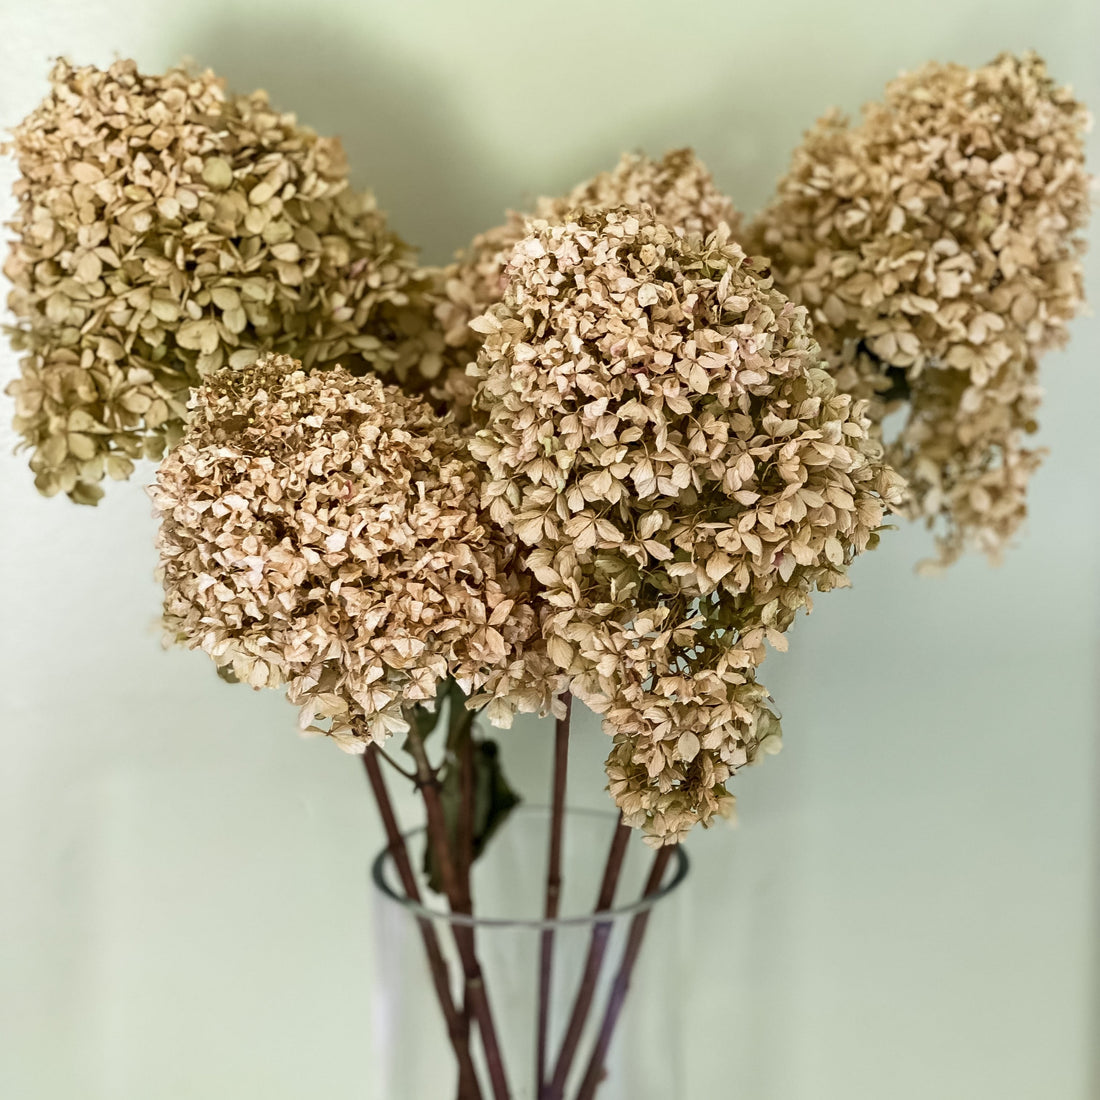
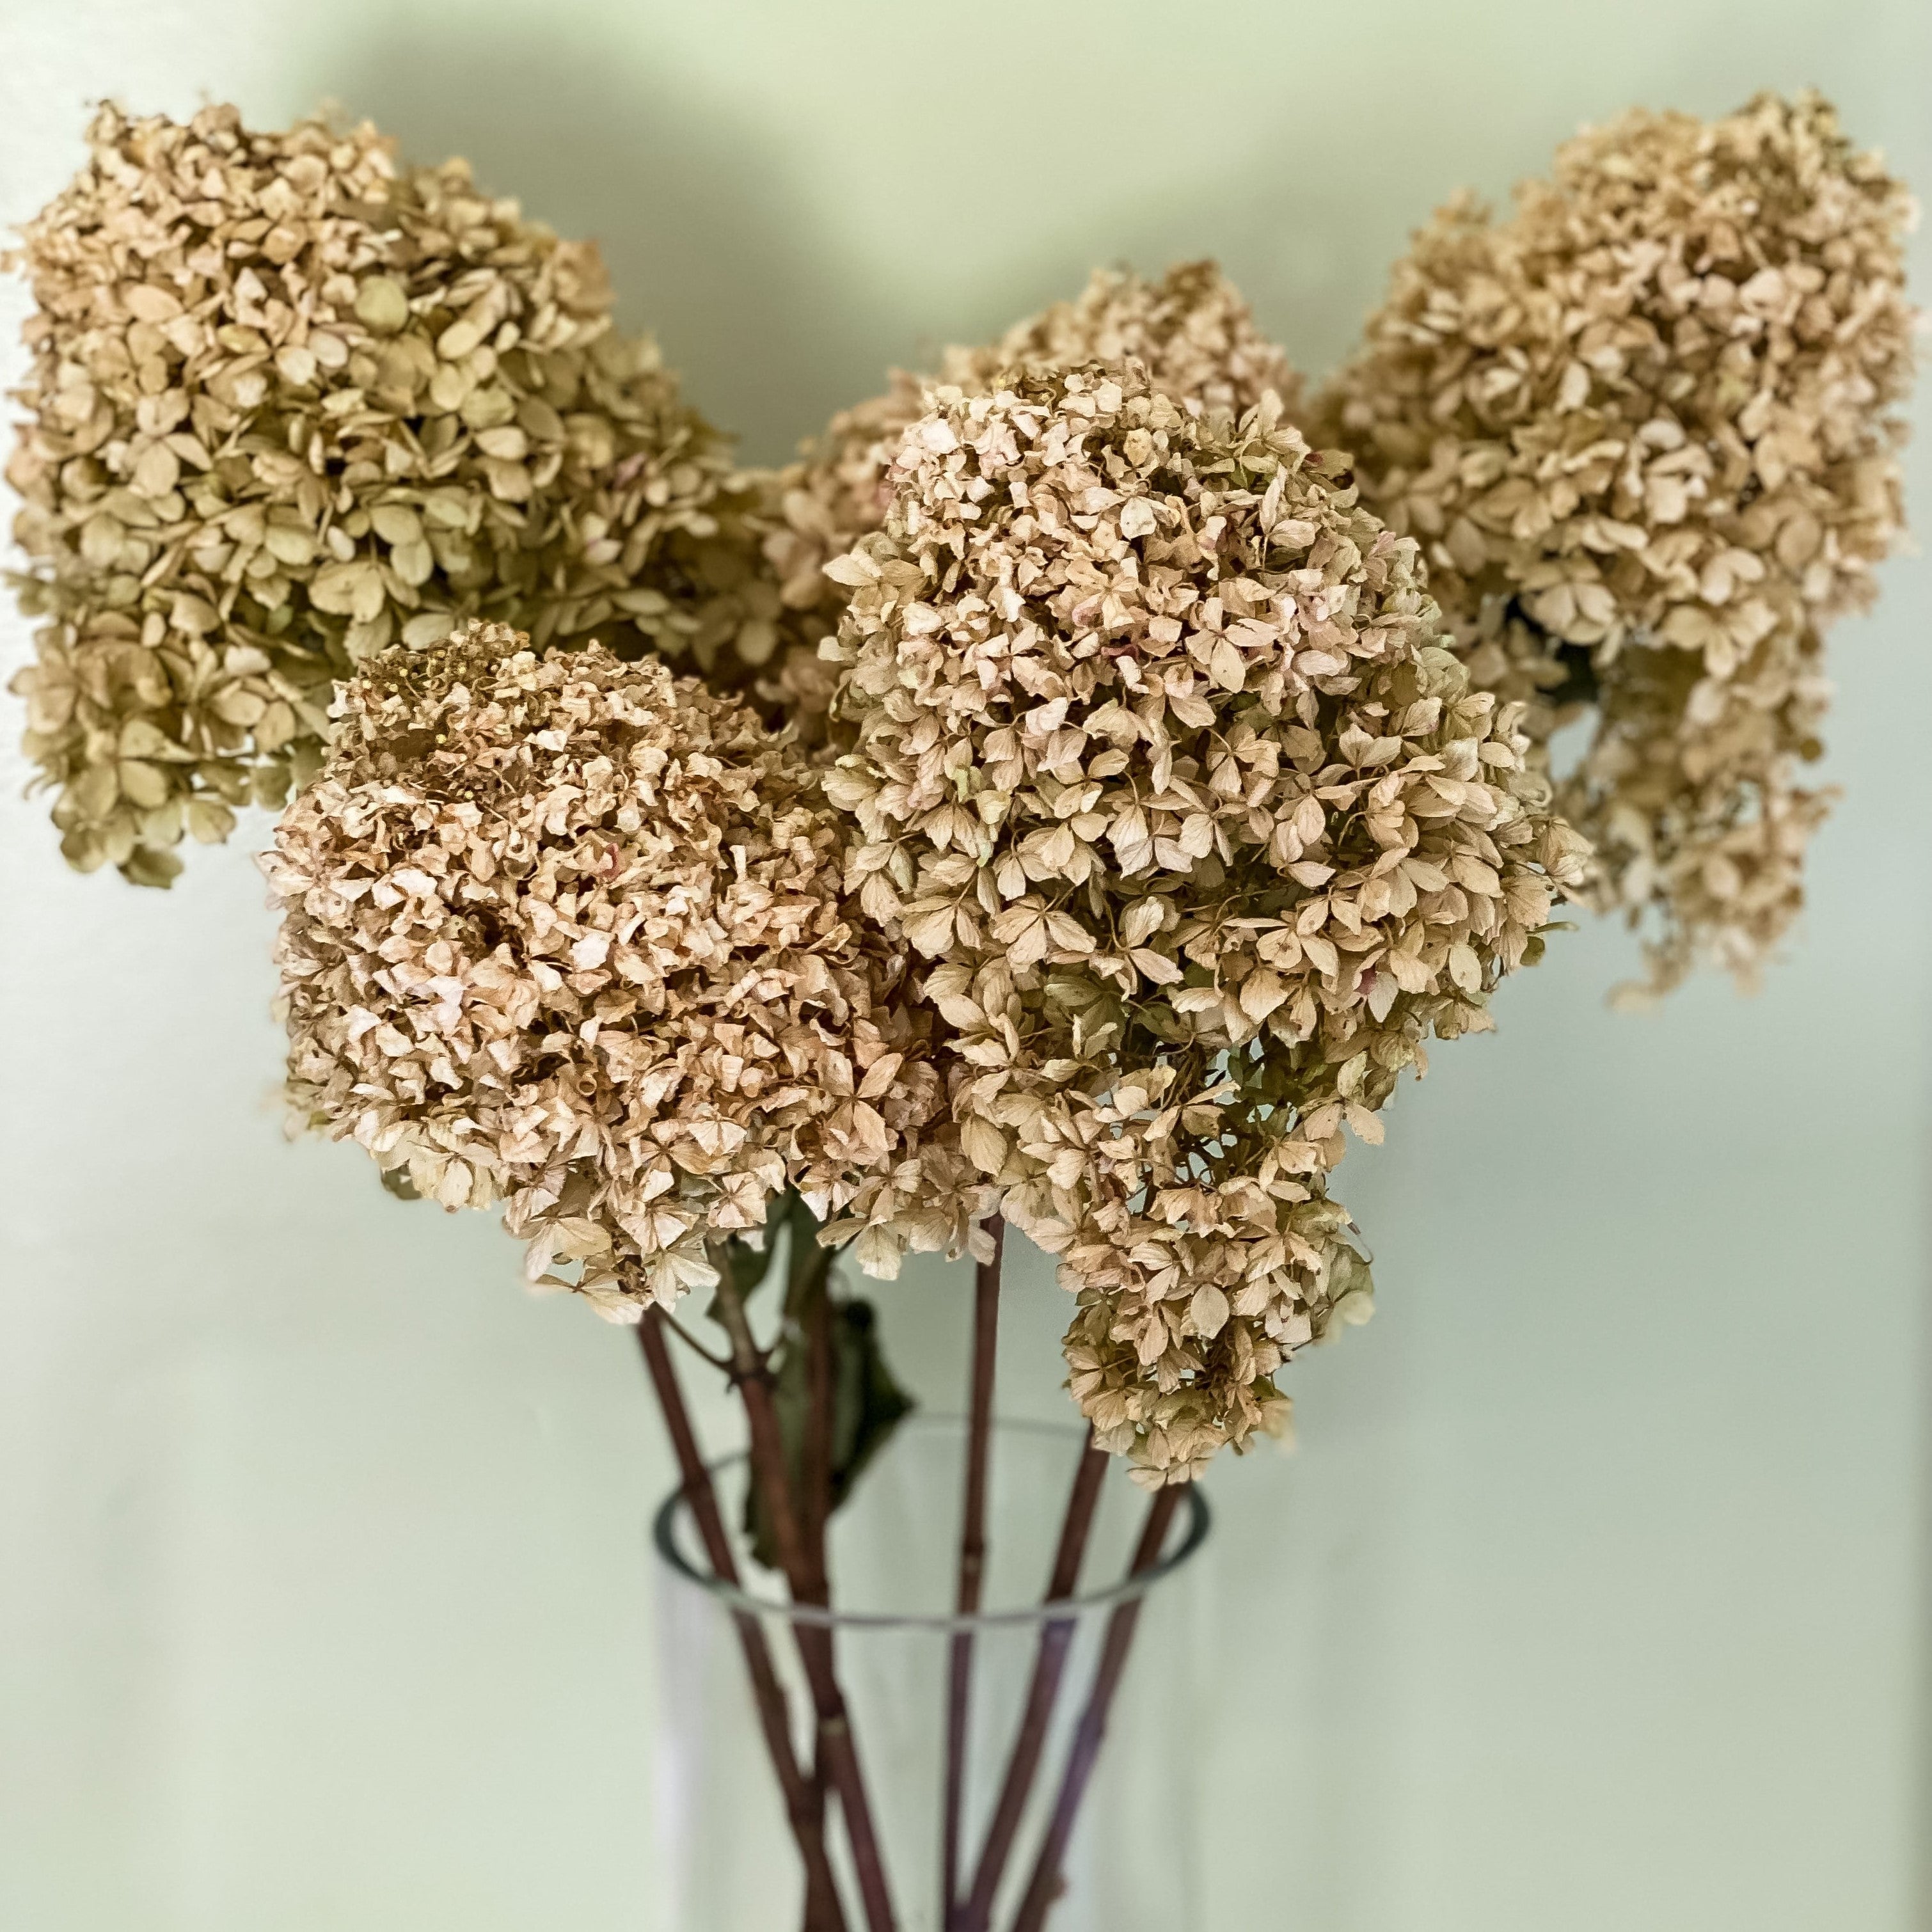
Back then, we didn’t dry many flowers, so the barn wasn’t the same spectacle of dried flower mania it is now. Naturally, I took some home (but not before going to Target so I could get some cute little vases). Those flowers carried me through my first Virginia winter in over a decade. They were so magical that I actually still have them! Each year around October, the dried hydrangea vases will start making their way into my home decor. I add or remove things like pumpkins, reindeer, and succulents each month, but the hydrangea stays. I only put them away during the summer so I can make room for fresh blooms I bring home from the farm.
Here’s my 2018 dried hydrangea that I pulled out of the cabinet to show you. Each year, I’ll add a few dried grasses or thistles, but the hydrangea still stays the same.
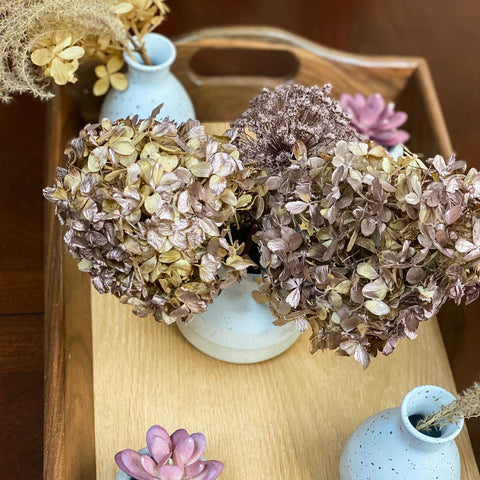
Pretty sharp, huh?!
The best part is, drying hydrangea is incredibly simple. On the farm, we cut everything and immediately hang it upside down in the drying barn. That’s one method, sure. But if you don’t happen to have an empty bank barn in your yard or a room with a super tall ceiling, there’s another way that’s a bit simpler to use at home.
The Most Important Part of Drying Hydrangea
Hands down, the number one thing that affects whether or not your hydrangeas will dry properly is when they’re harvested. If harvested too early, their stems will have too much moisture and the blooms will wilt. If left on the plant too long, they’ll start developing brown spots. Learning when to harvest takes trial and error (trust us!), but after a few tries, you’ll find when your landscape hydrangeas are at the perfect stage to dry.
Considering this, it can be difficult to buy hydrangeas at the market with the intention of drying them. Fresh hydrangea is harvested at a different stage, so there’s a good chance the blooms at the market were harvested too early to be a good candidate for drying.
With our Dry Your Own Hydrangea Box, you’ll receive 30 stems of limelight hydrangea that has been harvested at the perfect time to dry. We’ve spent years perfecting the harvest stage, so if you follow this guide, you can have perfectly dried hydrangea with very little effort!

Drying Hydrangea in a Vase
The easiest way to dry hydrangea at home is using the vase drying method. If you’re like me, maybe you have a bad habit of forgetting to change your vase water, or giving your flowers more water in general. The great thing about this method is that forgetting to water them is part of the technique! Follow this easy guide to drying your own hydrangea at home!
If you’ve purchased our Dry Your Own Hydrangea Box, your flowers will arrive in a hydration pack, but if you picked some up at the local market, they may have already been out of water. It’s fine either way! Remove your flowers from the packaging before getting started.
Step 1: Prepare your vases. You’re going to want to give your flowers some room while they dry, so be sure not to overcrowd the vase. Airflow is key to allowing them to dry evenly! This means you might need quite a few large vases.
Step 2: Fill the vase with 2-3 inches of water.
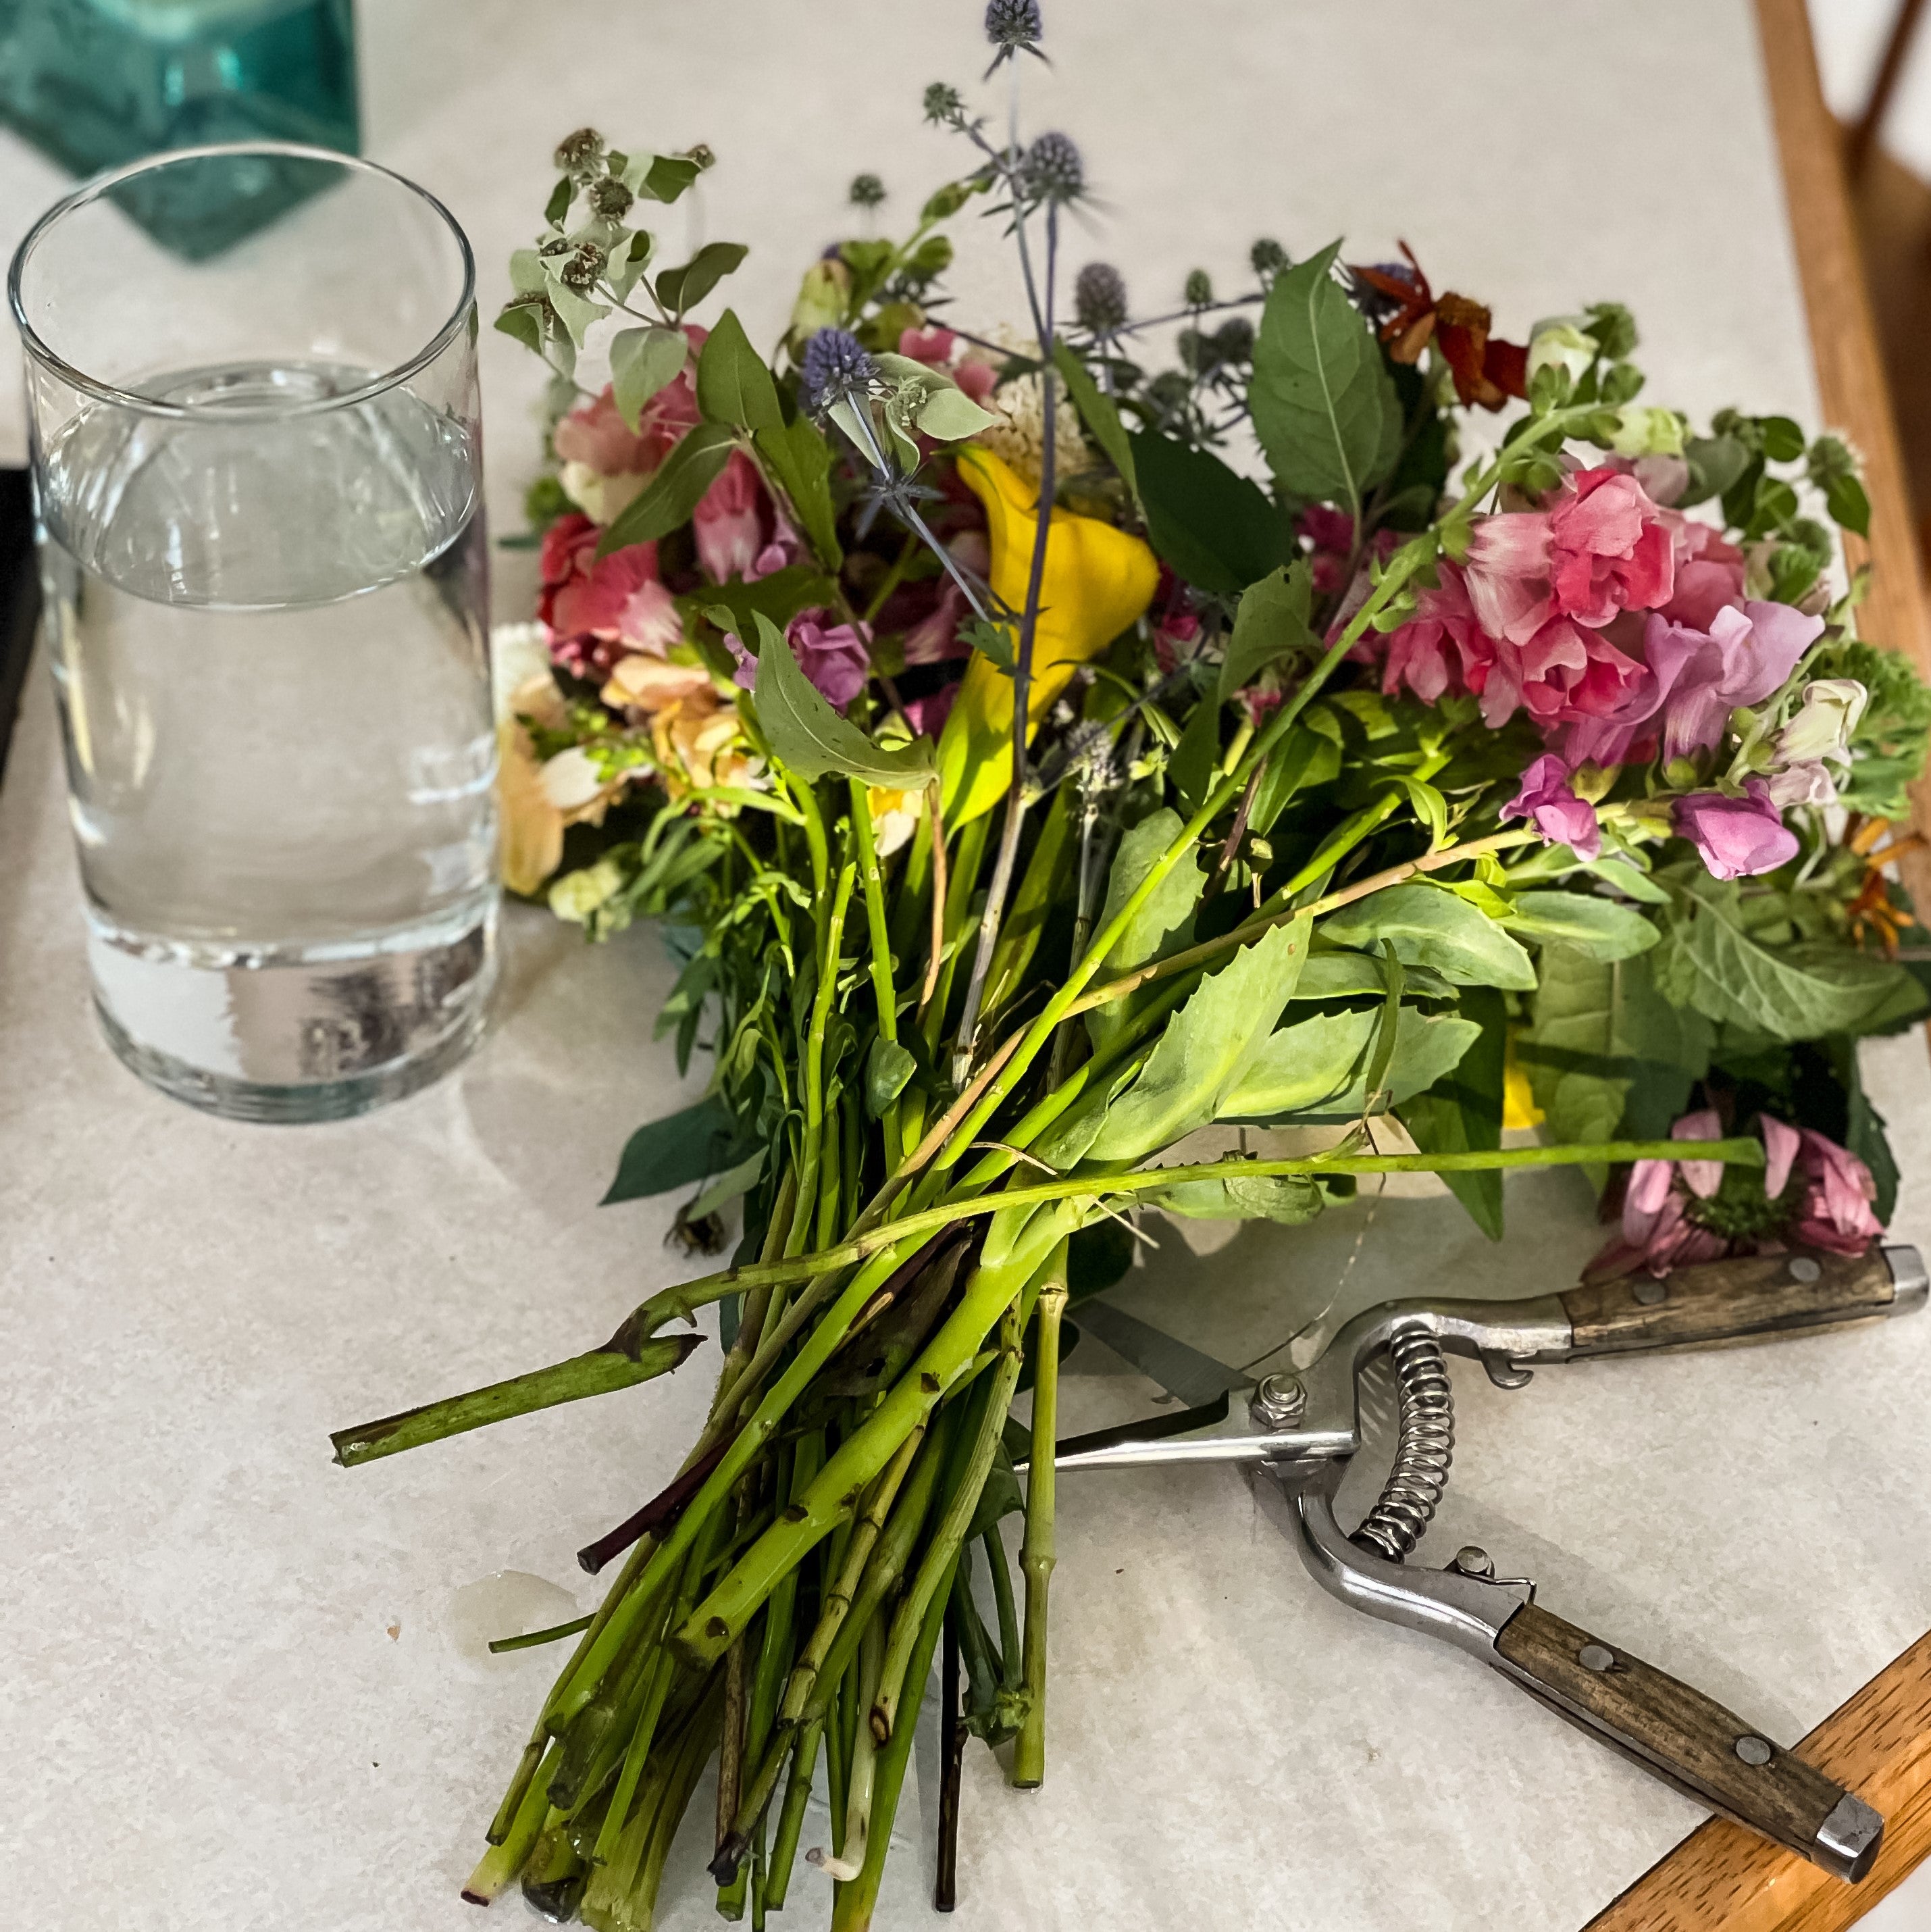
Step 3: Remove all of the leaves from your hydrangea stems.
Step 4: Give your hydrangea stems a sharp cut at an angle. Since hydrangeas are considered “woody plants” the stems can be pretty hard to cut through with scissors. It’s possible, but we would recommend using a good pair of snips.
Step 5: Place hydrangeas in vases. You can cut them at varying lengths to get more in a vase, just make sure the heads aren’t squashed together. The flowers will dry the way they are in the vase, so if they’re pressed up against another bloom, they may look a bit flat. They can touch, just avoid smooshing them.
Step 6: Put your vases of hydrangeas around your house! Be sure that they’re kept in cool areas and out of direct sunlight. They don’t need to be in a cooler or in total darkness, but the cooler and darker it is, the better!
Step 7: Wait for the flowers to dry. The water will evaporate in a few days, but DON’T add more water. Allow the flowers to stay in their dry, dark home for two to three weeks until they’re good and crispy.
Make stuff!
These hydrangea are perfect for holiday wreaths and seasonal arrangements throughout your home. If you’re feeling extra, well, extra, you can use some floral paint to give them a light coat of color! Whether they’re in a standalone vase or paired with dried flowers, pinecones, or seasonal greenery, dried hydrangea brings a big impact to your holiday decor. And, you know us, go big or go home!
We’ve already been dusting off our glue guns getting ready for this holiday season and it’s safe to say that there will be LOTS of hydrangea involved. There always is - it’s one of our favorite dried flowers ever!
Remember, hanging your hydrangea to dry in a dark, cool space works too! Have you dried flowers before? What’s your favorite way to naturally preserve summer blooms?

Check out this episode of Designing With an Idiot to see the hydrangea drying process in action!
