How to Use a Pin Holder
Stephanie Auville
If you’ve never seen a pin holder before, you might look at one and think “what the heck is this?” I know I did before I started manufacturing them. But now I’m here to walk you through the steps of using a pin holder so you’ll see how truly easy it is to design *foam-free*. Pin holders are made with a metal base and sharp nails and are a classic in the flower frog world. If you want to learn more about the different types of flower frogs, check out this blog post.
Supplies
- Pin holder (we have different shapes and sizes to choose from depending on your vase!)
- Vase
- Floral putty
- Water
- Snips or sharp scissors
- Flowers
Step 1: Start with a clean, dry vase. A dirty vase can have bacteria in it that will harm your blooms.

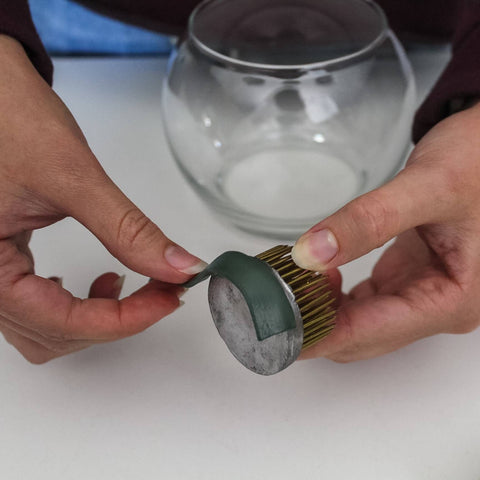
Step 2: Apply floral putty to the bottom of the pin holder. If you don’t have putty, the weight of the frog should suffice!
Step 3: Press the pin holder firmly into your vase.

Step 4: Add water.

Step 5: Give your stems a fresh, angled cut.

Step 6: Place stems into the pins and get creative - this is YOUR arrangement!

And that’s it! Would you try using a pin holder now?