Hi there! Mack here, HHF’s resident floral designer :) This past October, our marketing coordinator (and also my good friend), Catherine, got married! Not only was I incredibly excited to get invited, but I was just as excited to design her wedding flowers - this was my first time doing flowers for a wedding that I actually got to attend, and Catherine gave me a LOT of creative freedom and put her trust in me to create something beautiful for their big day (no pressure!). We don’t offer a lot of the arrangements that I did for her wedding, but what we can offer is the insider scoop on what materials you would need to recreate these designs with our bulk flowers! While this won’t be a full, in-depth tutorial of how to design everything, I’ll give you guys a few tips and list the supplies I used for everything I put together so that you’ll know what you’ll need for these designs…besides flowers, of course!
Bouquets:

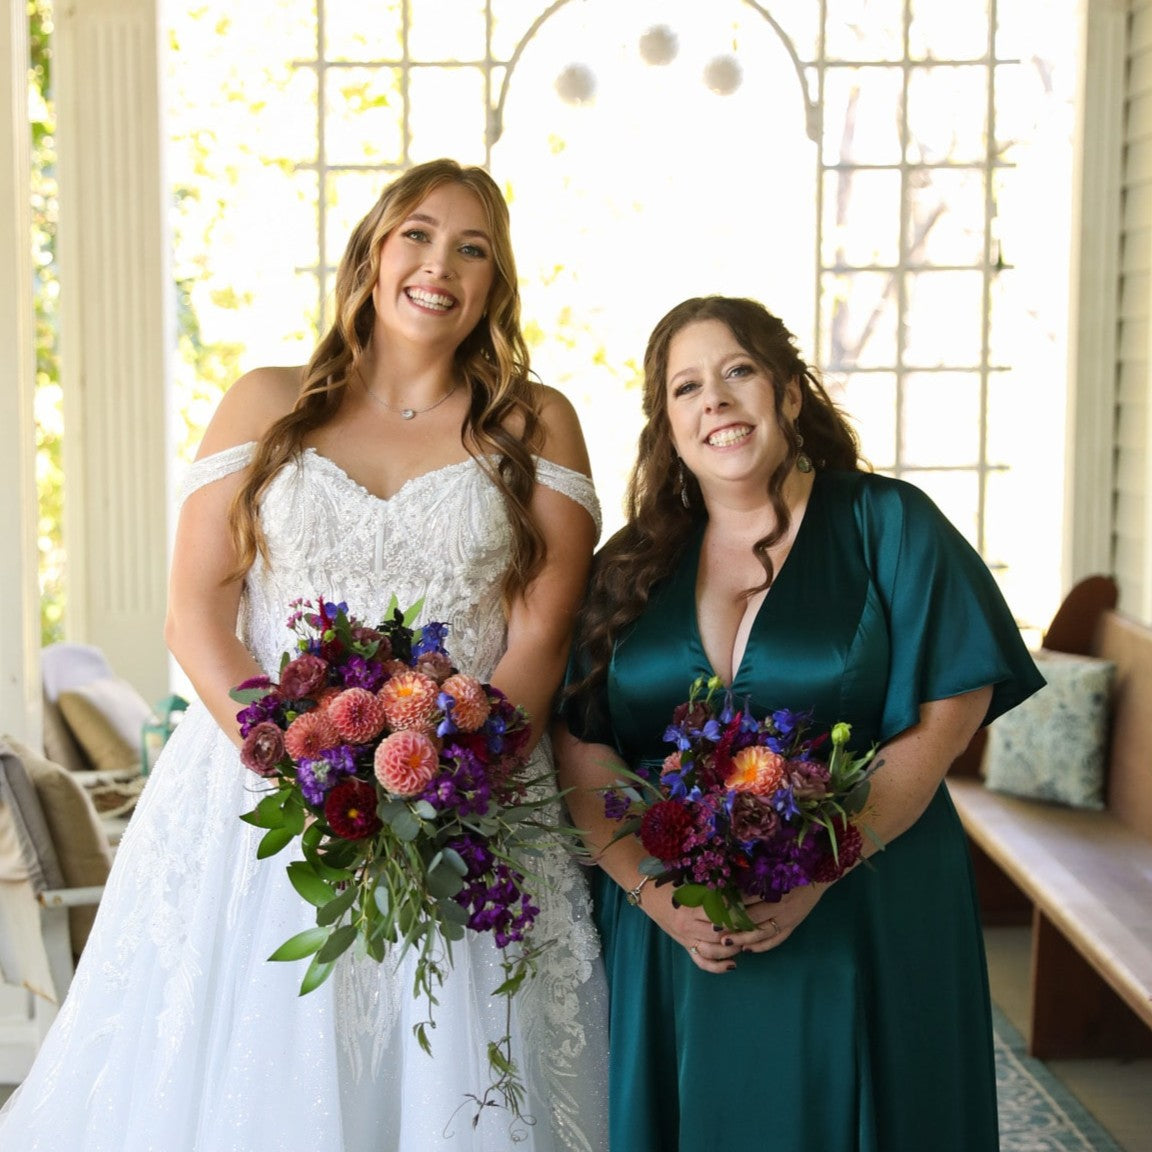
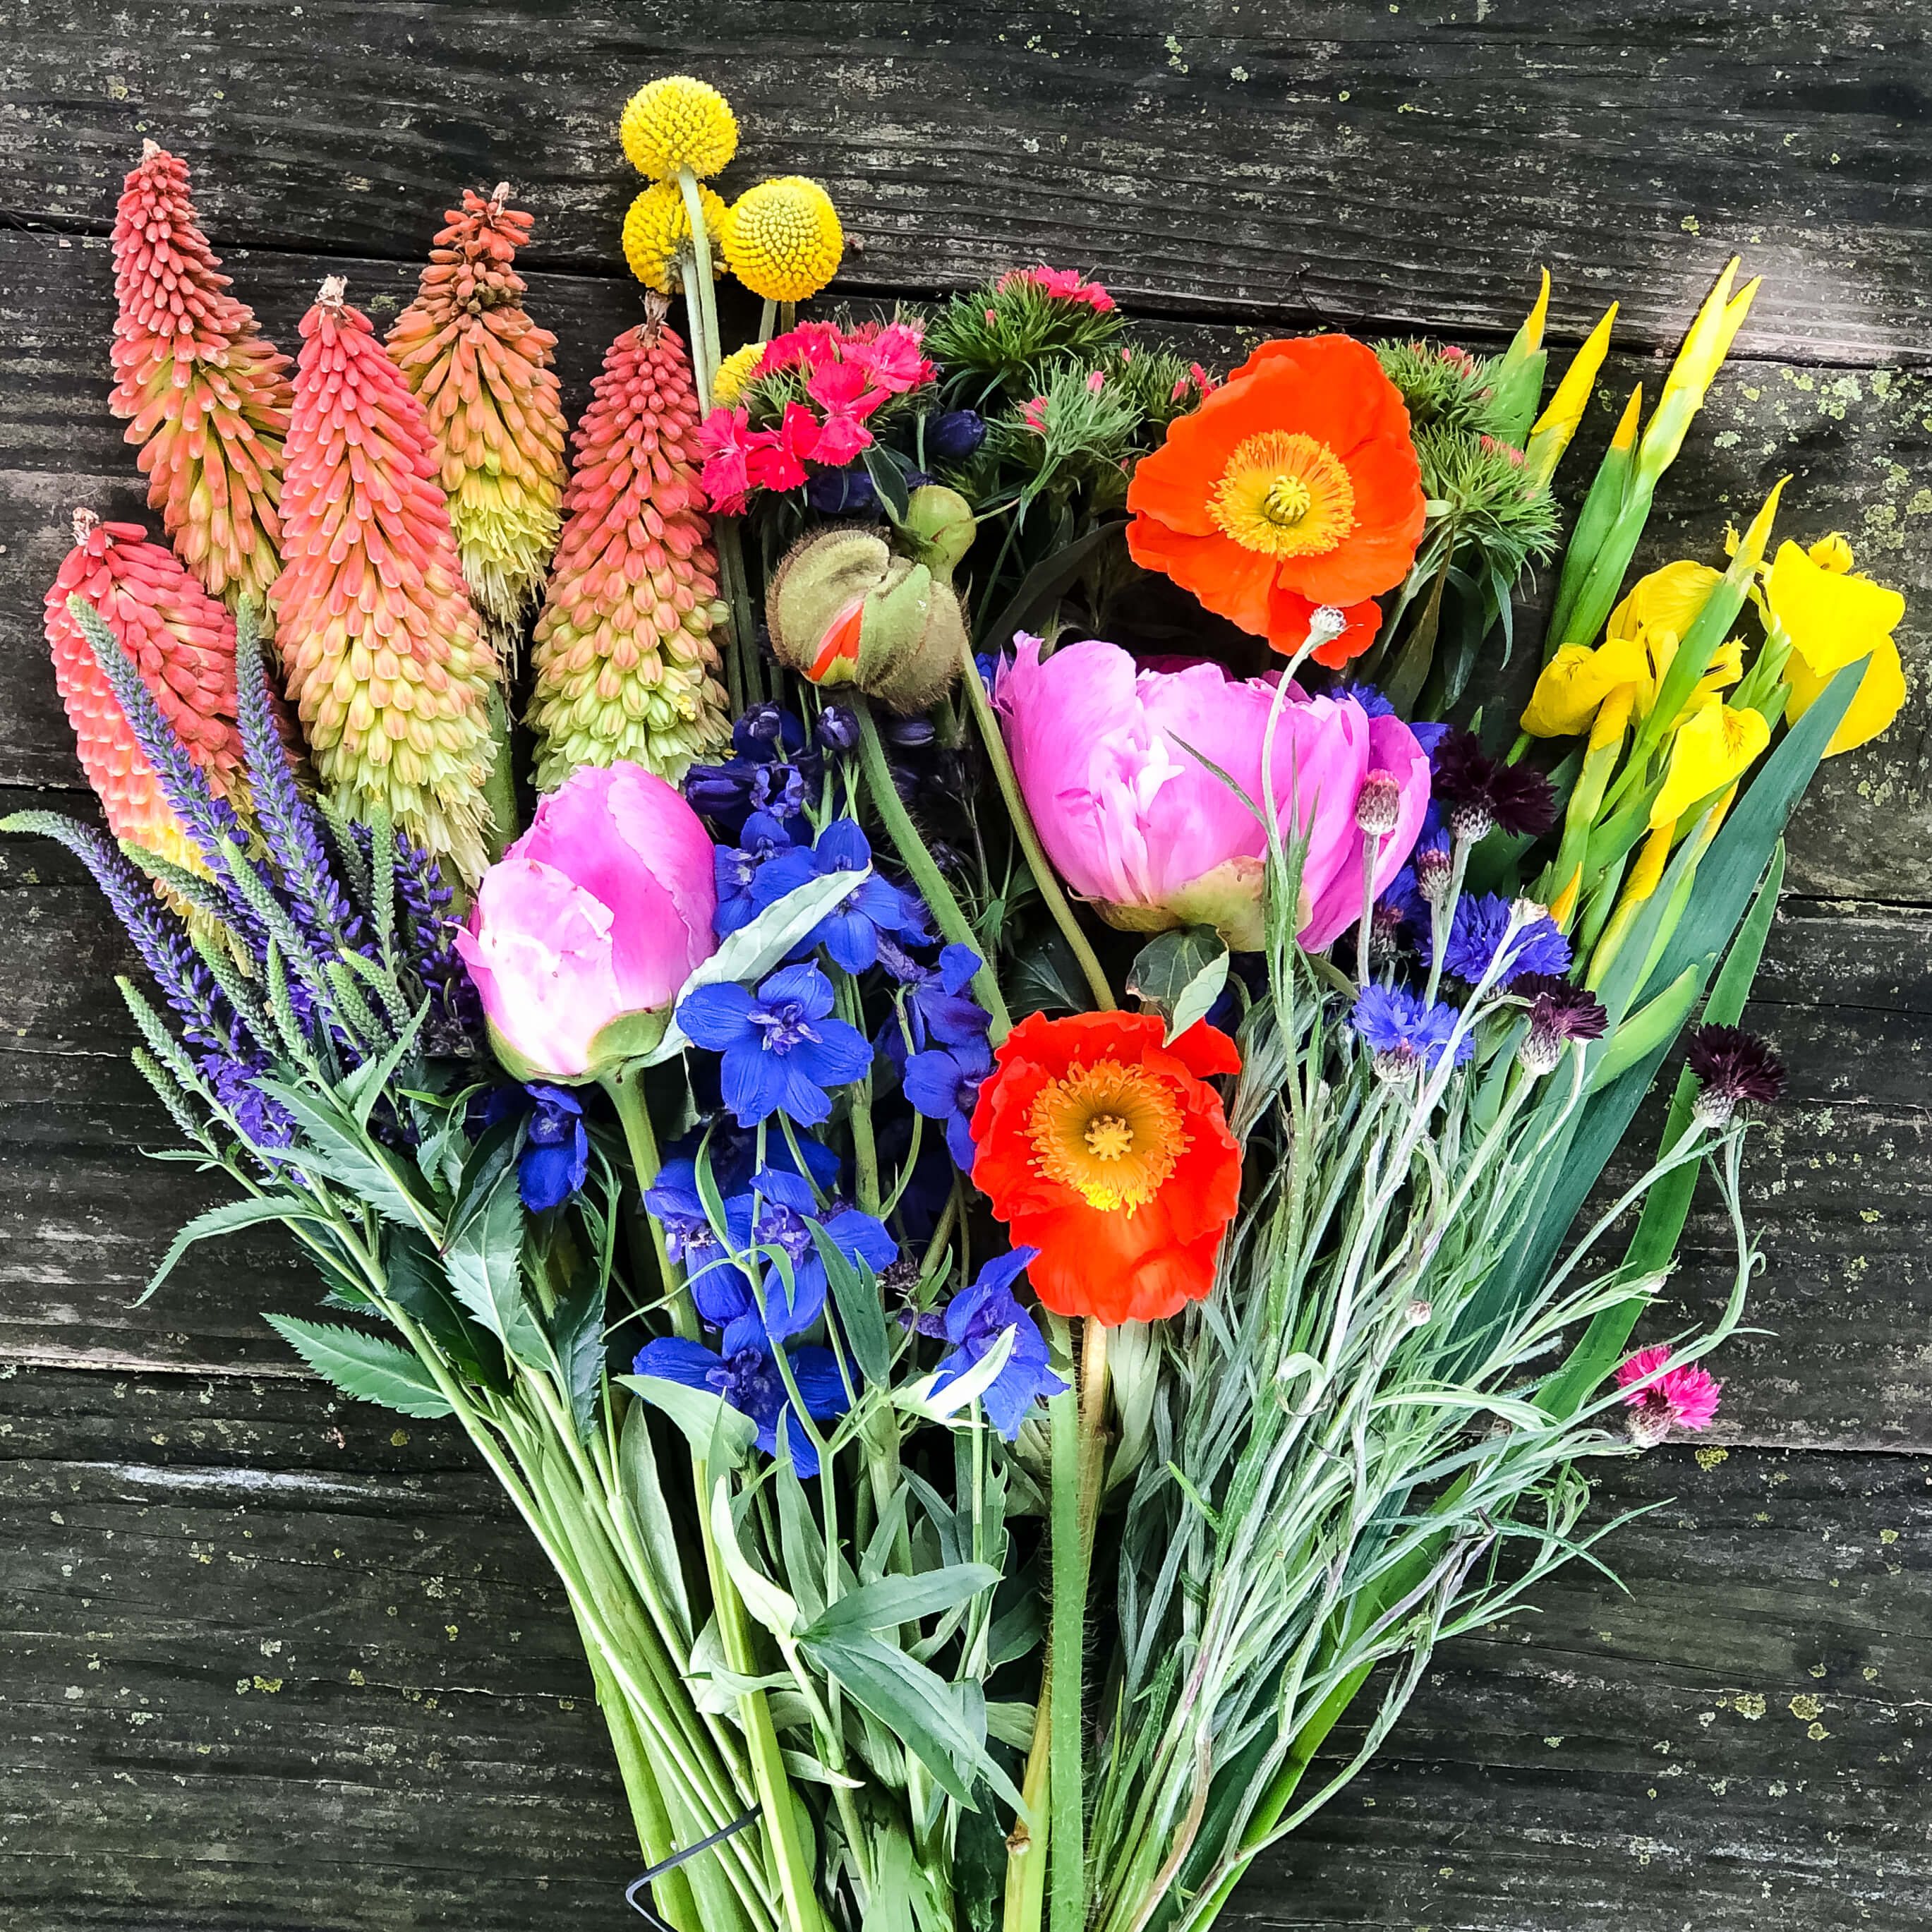
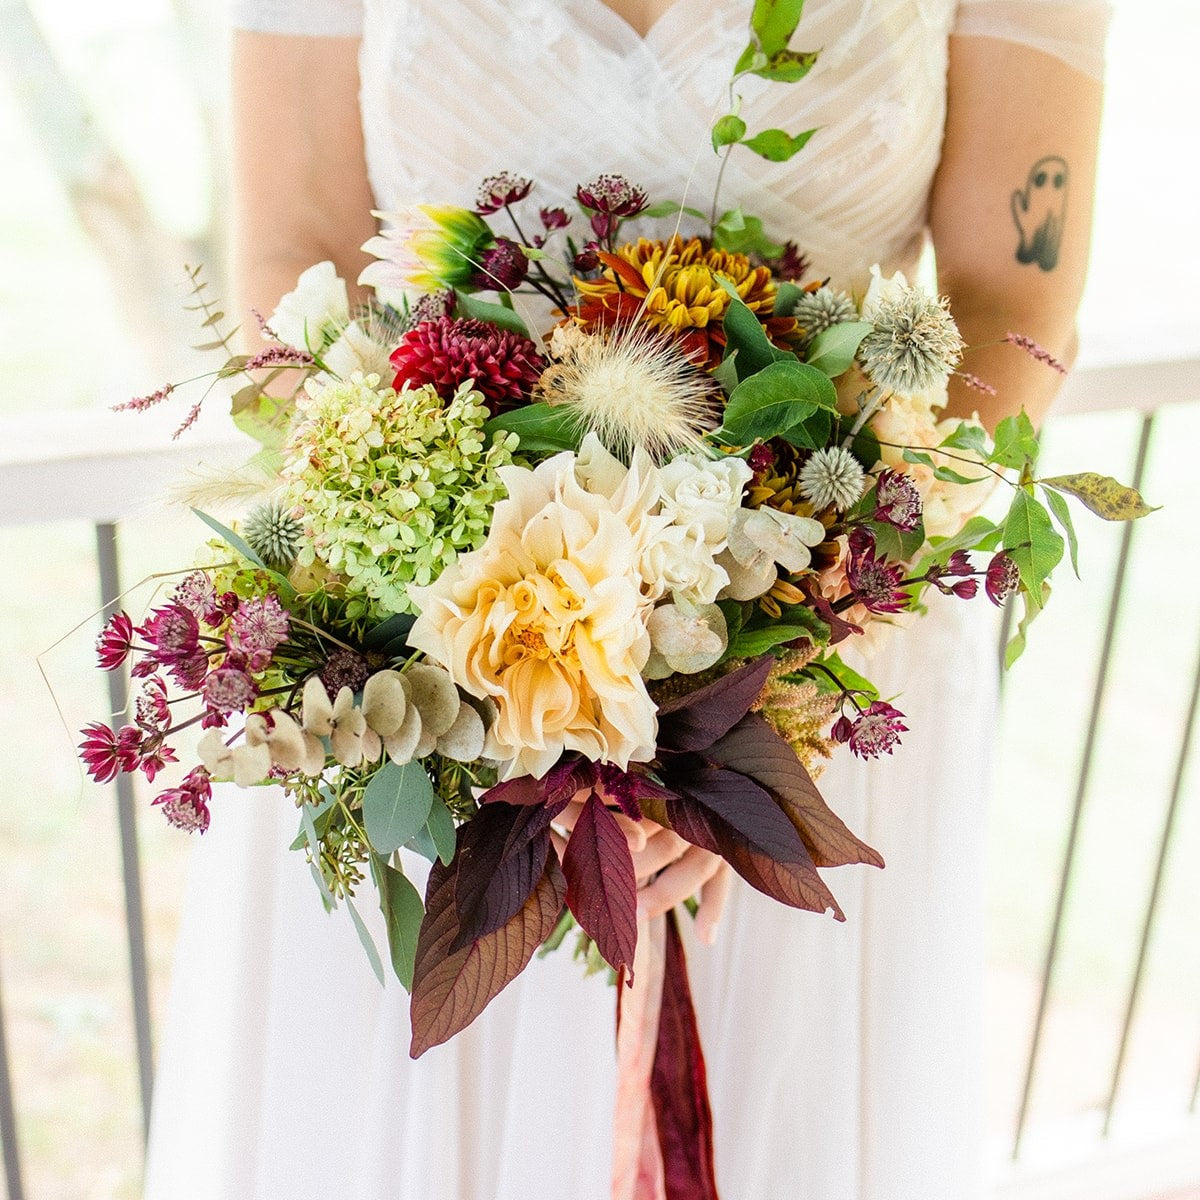
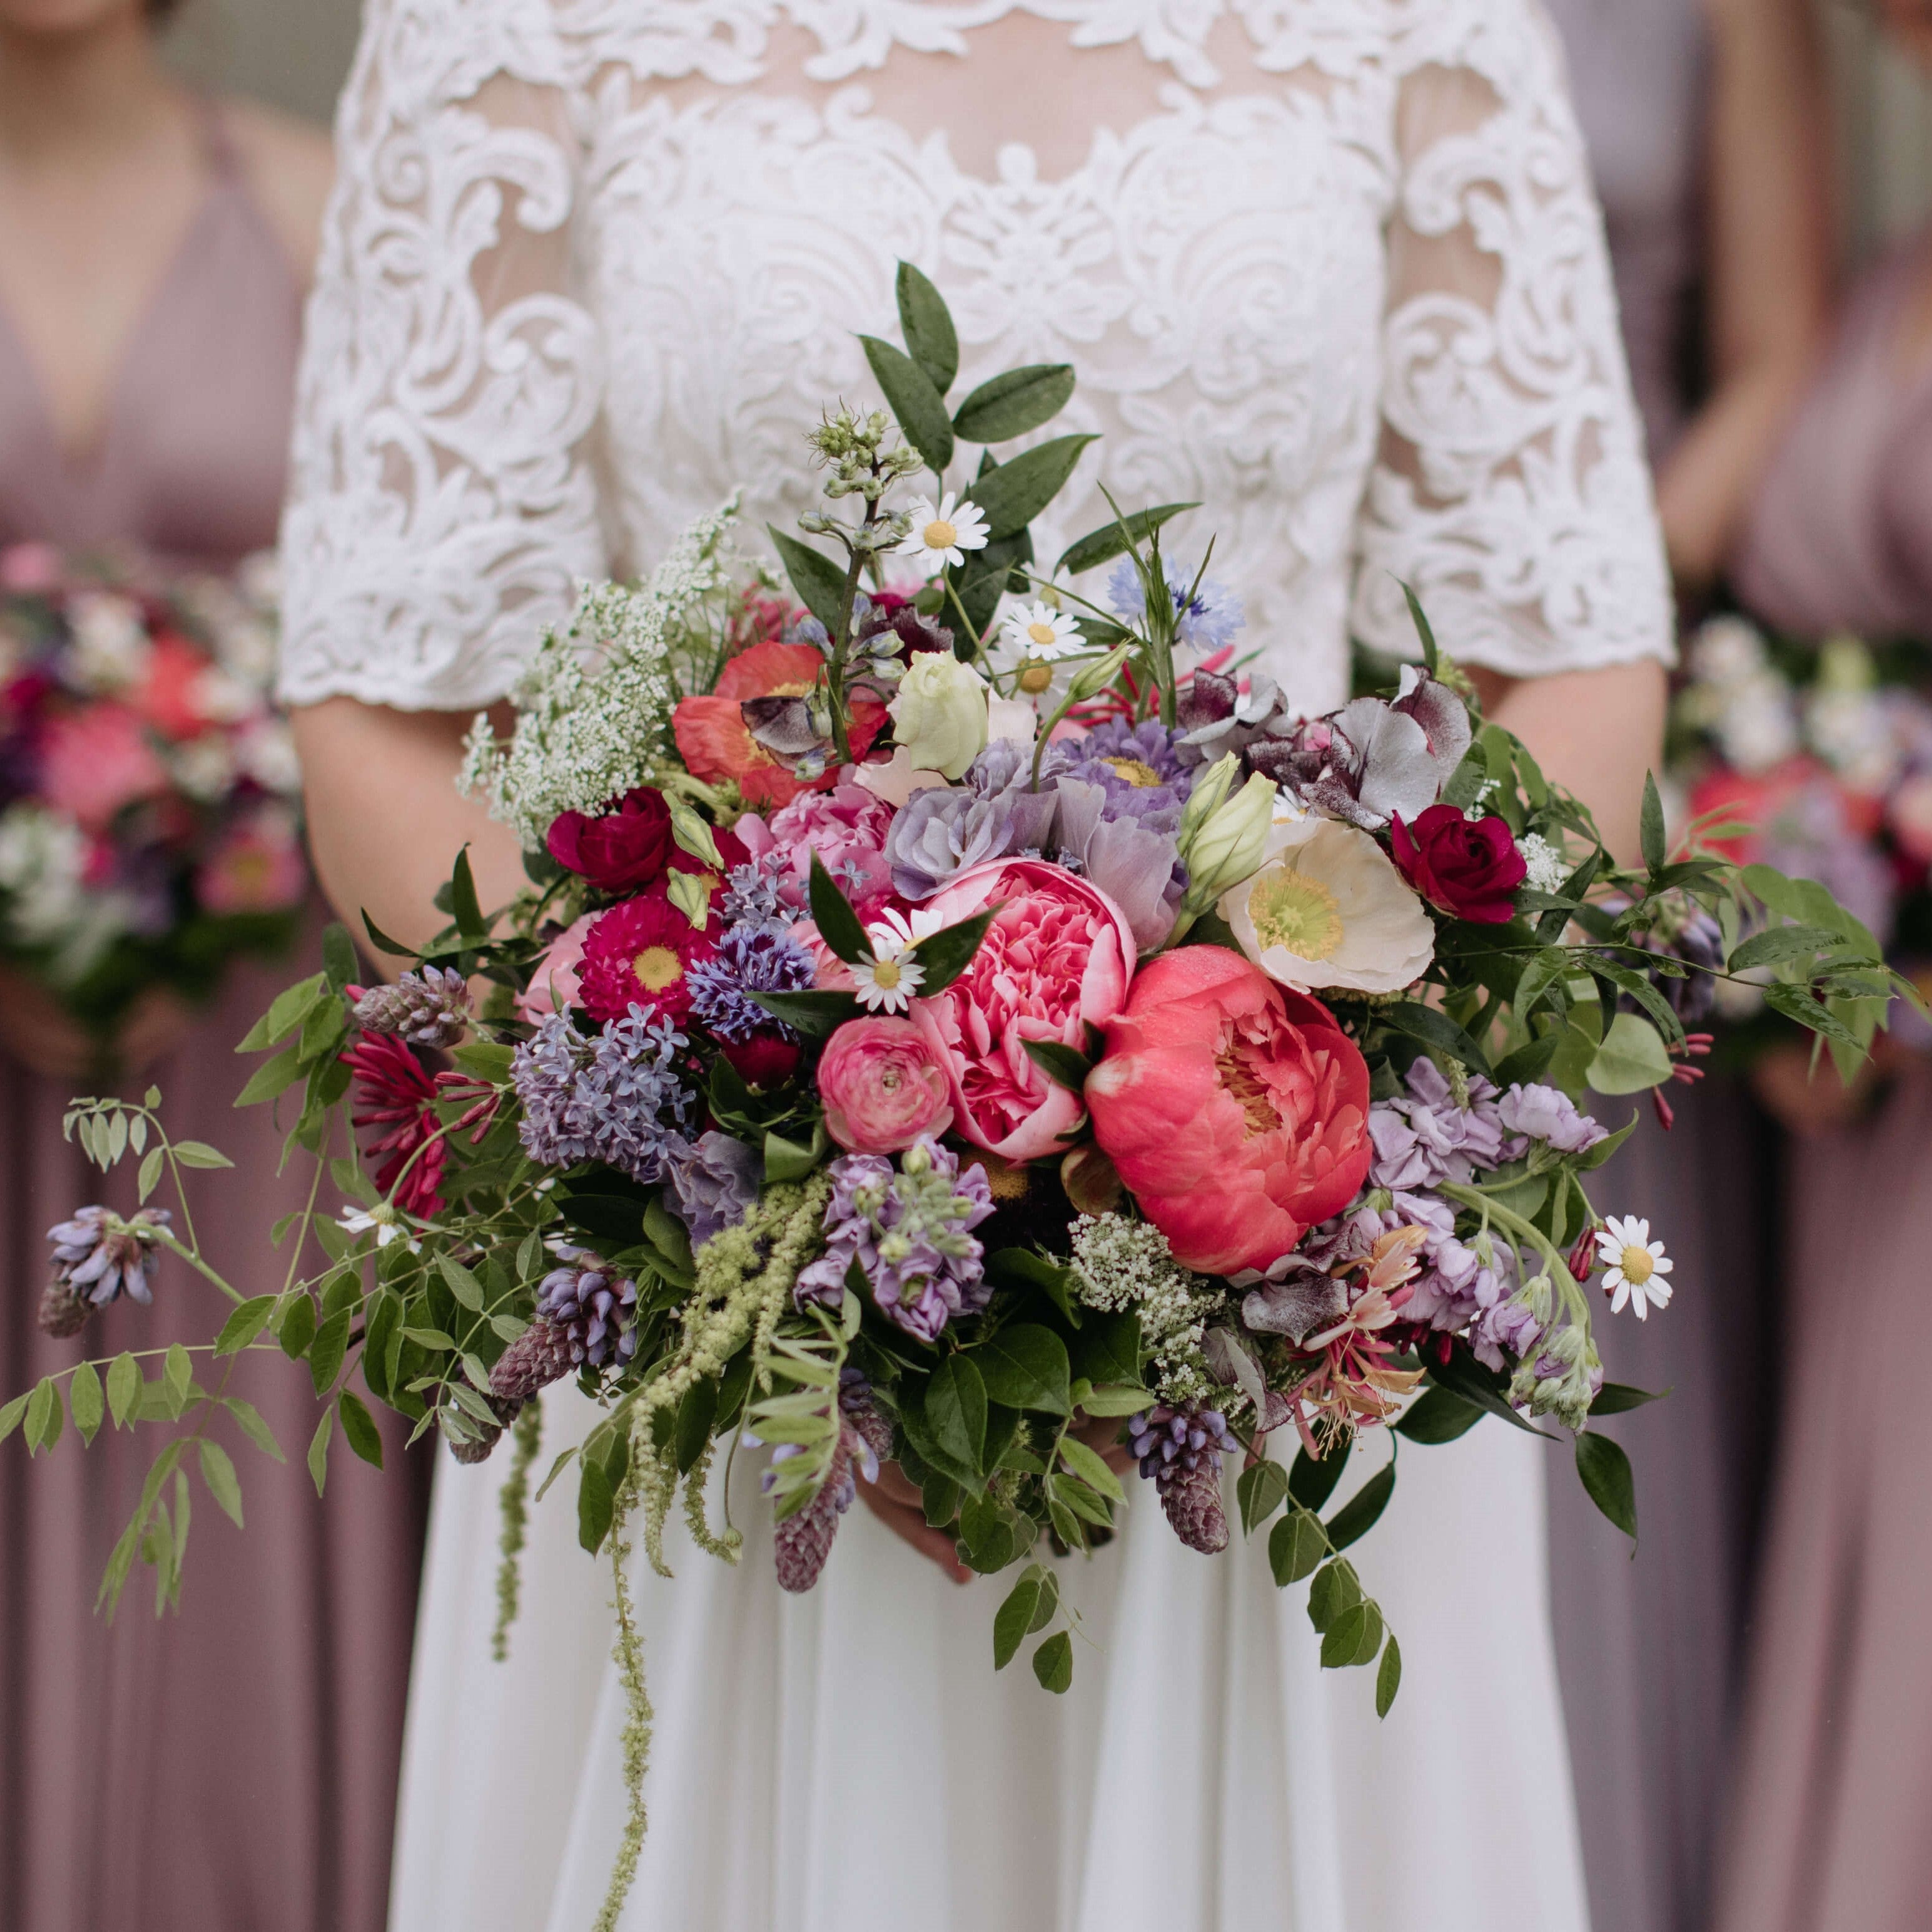
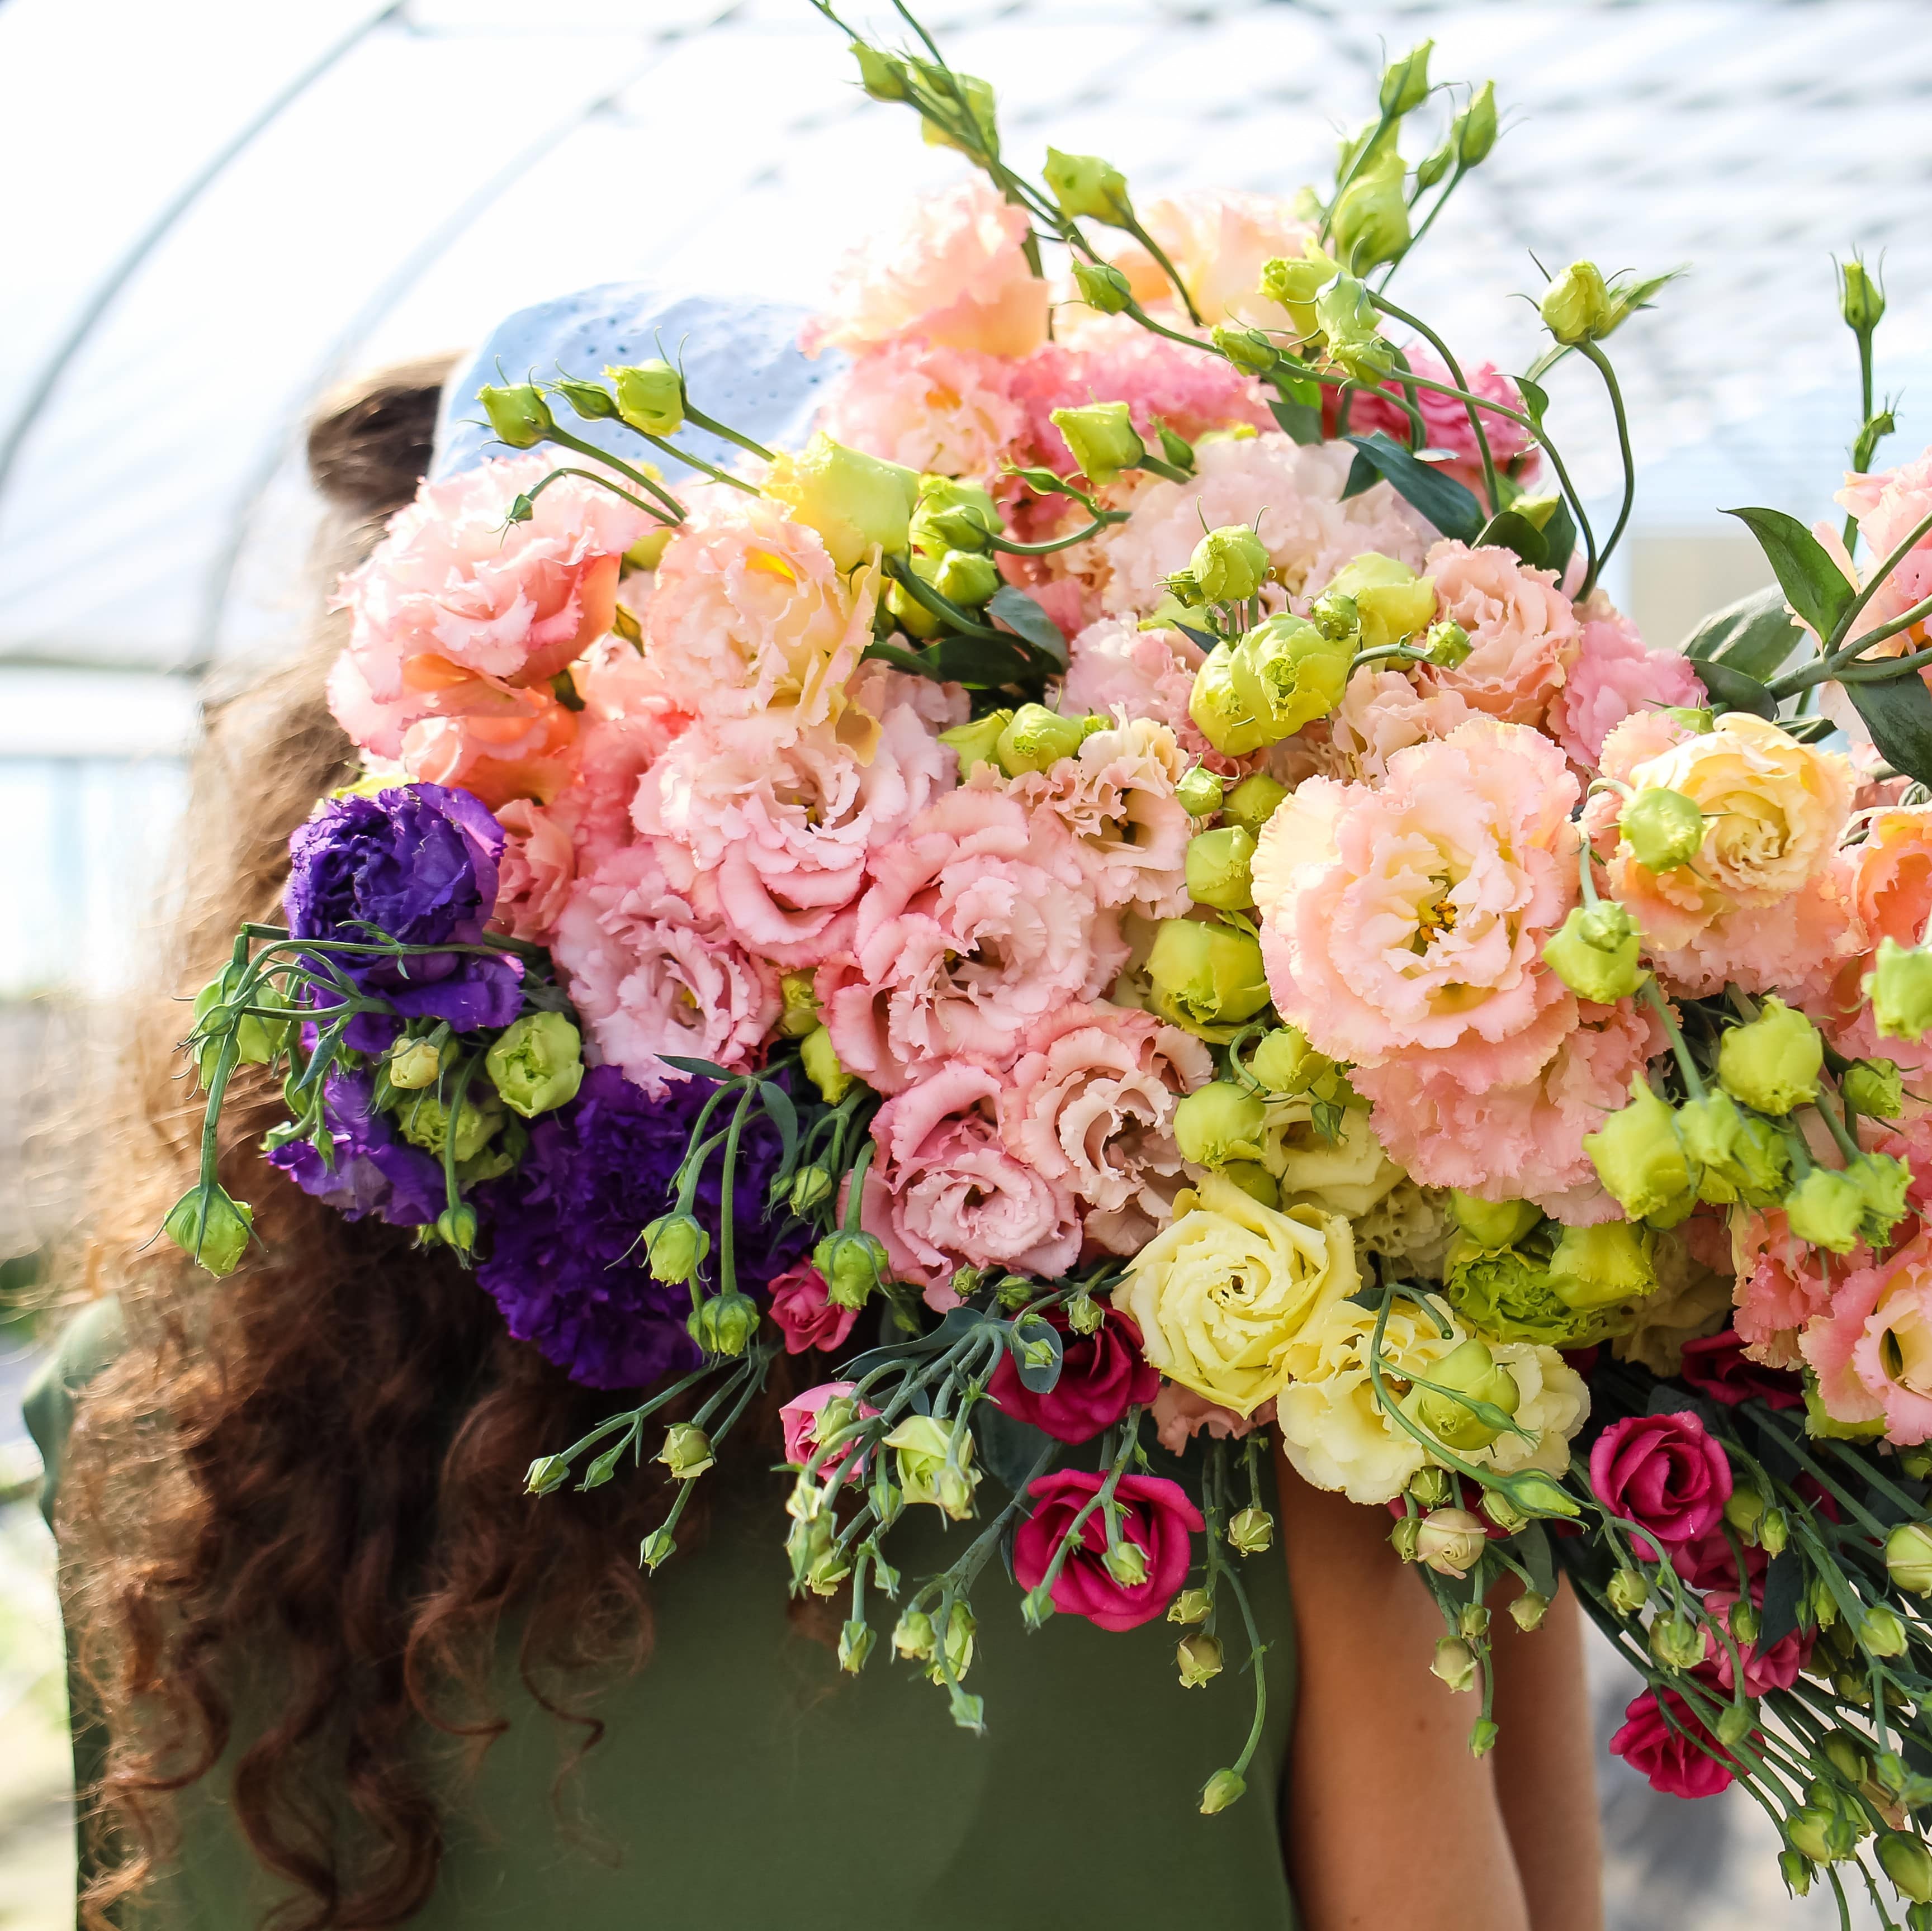
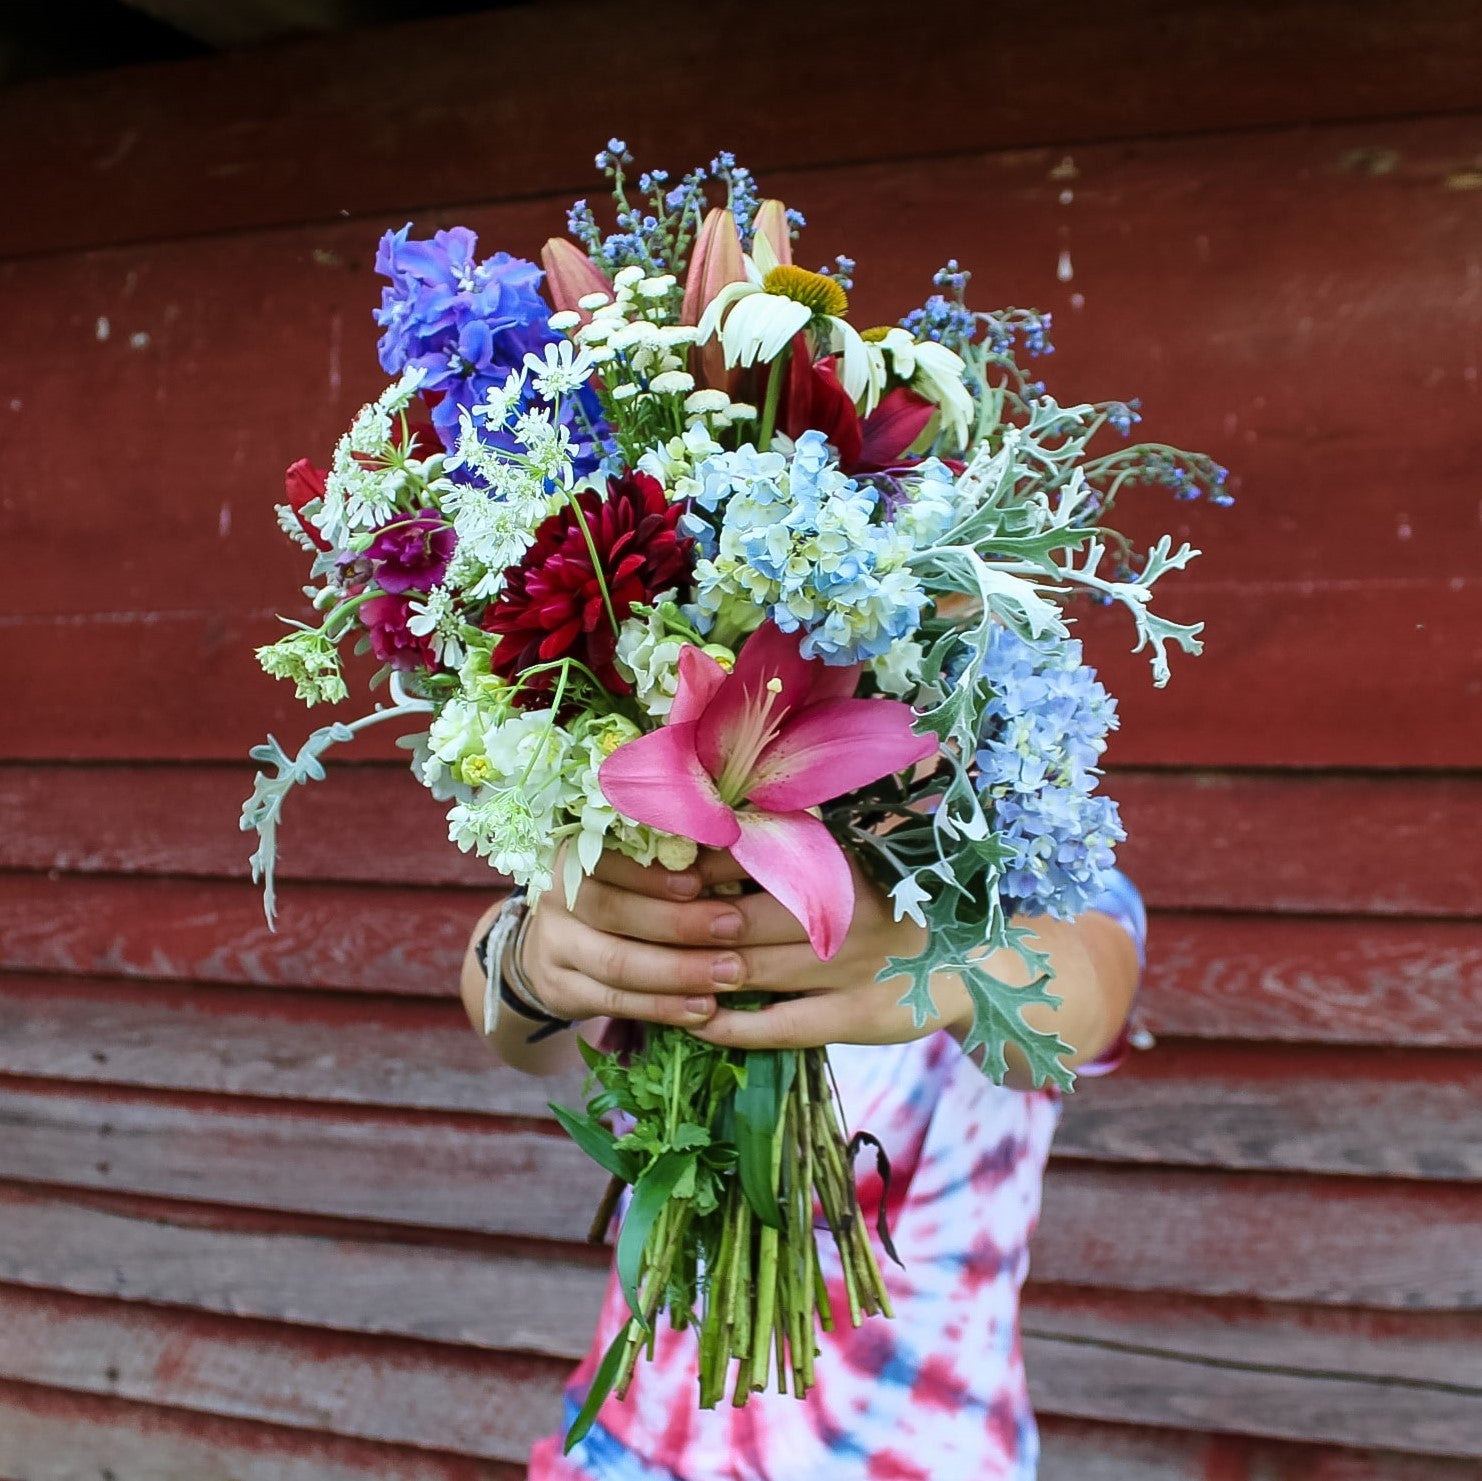
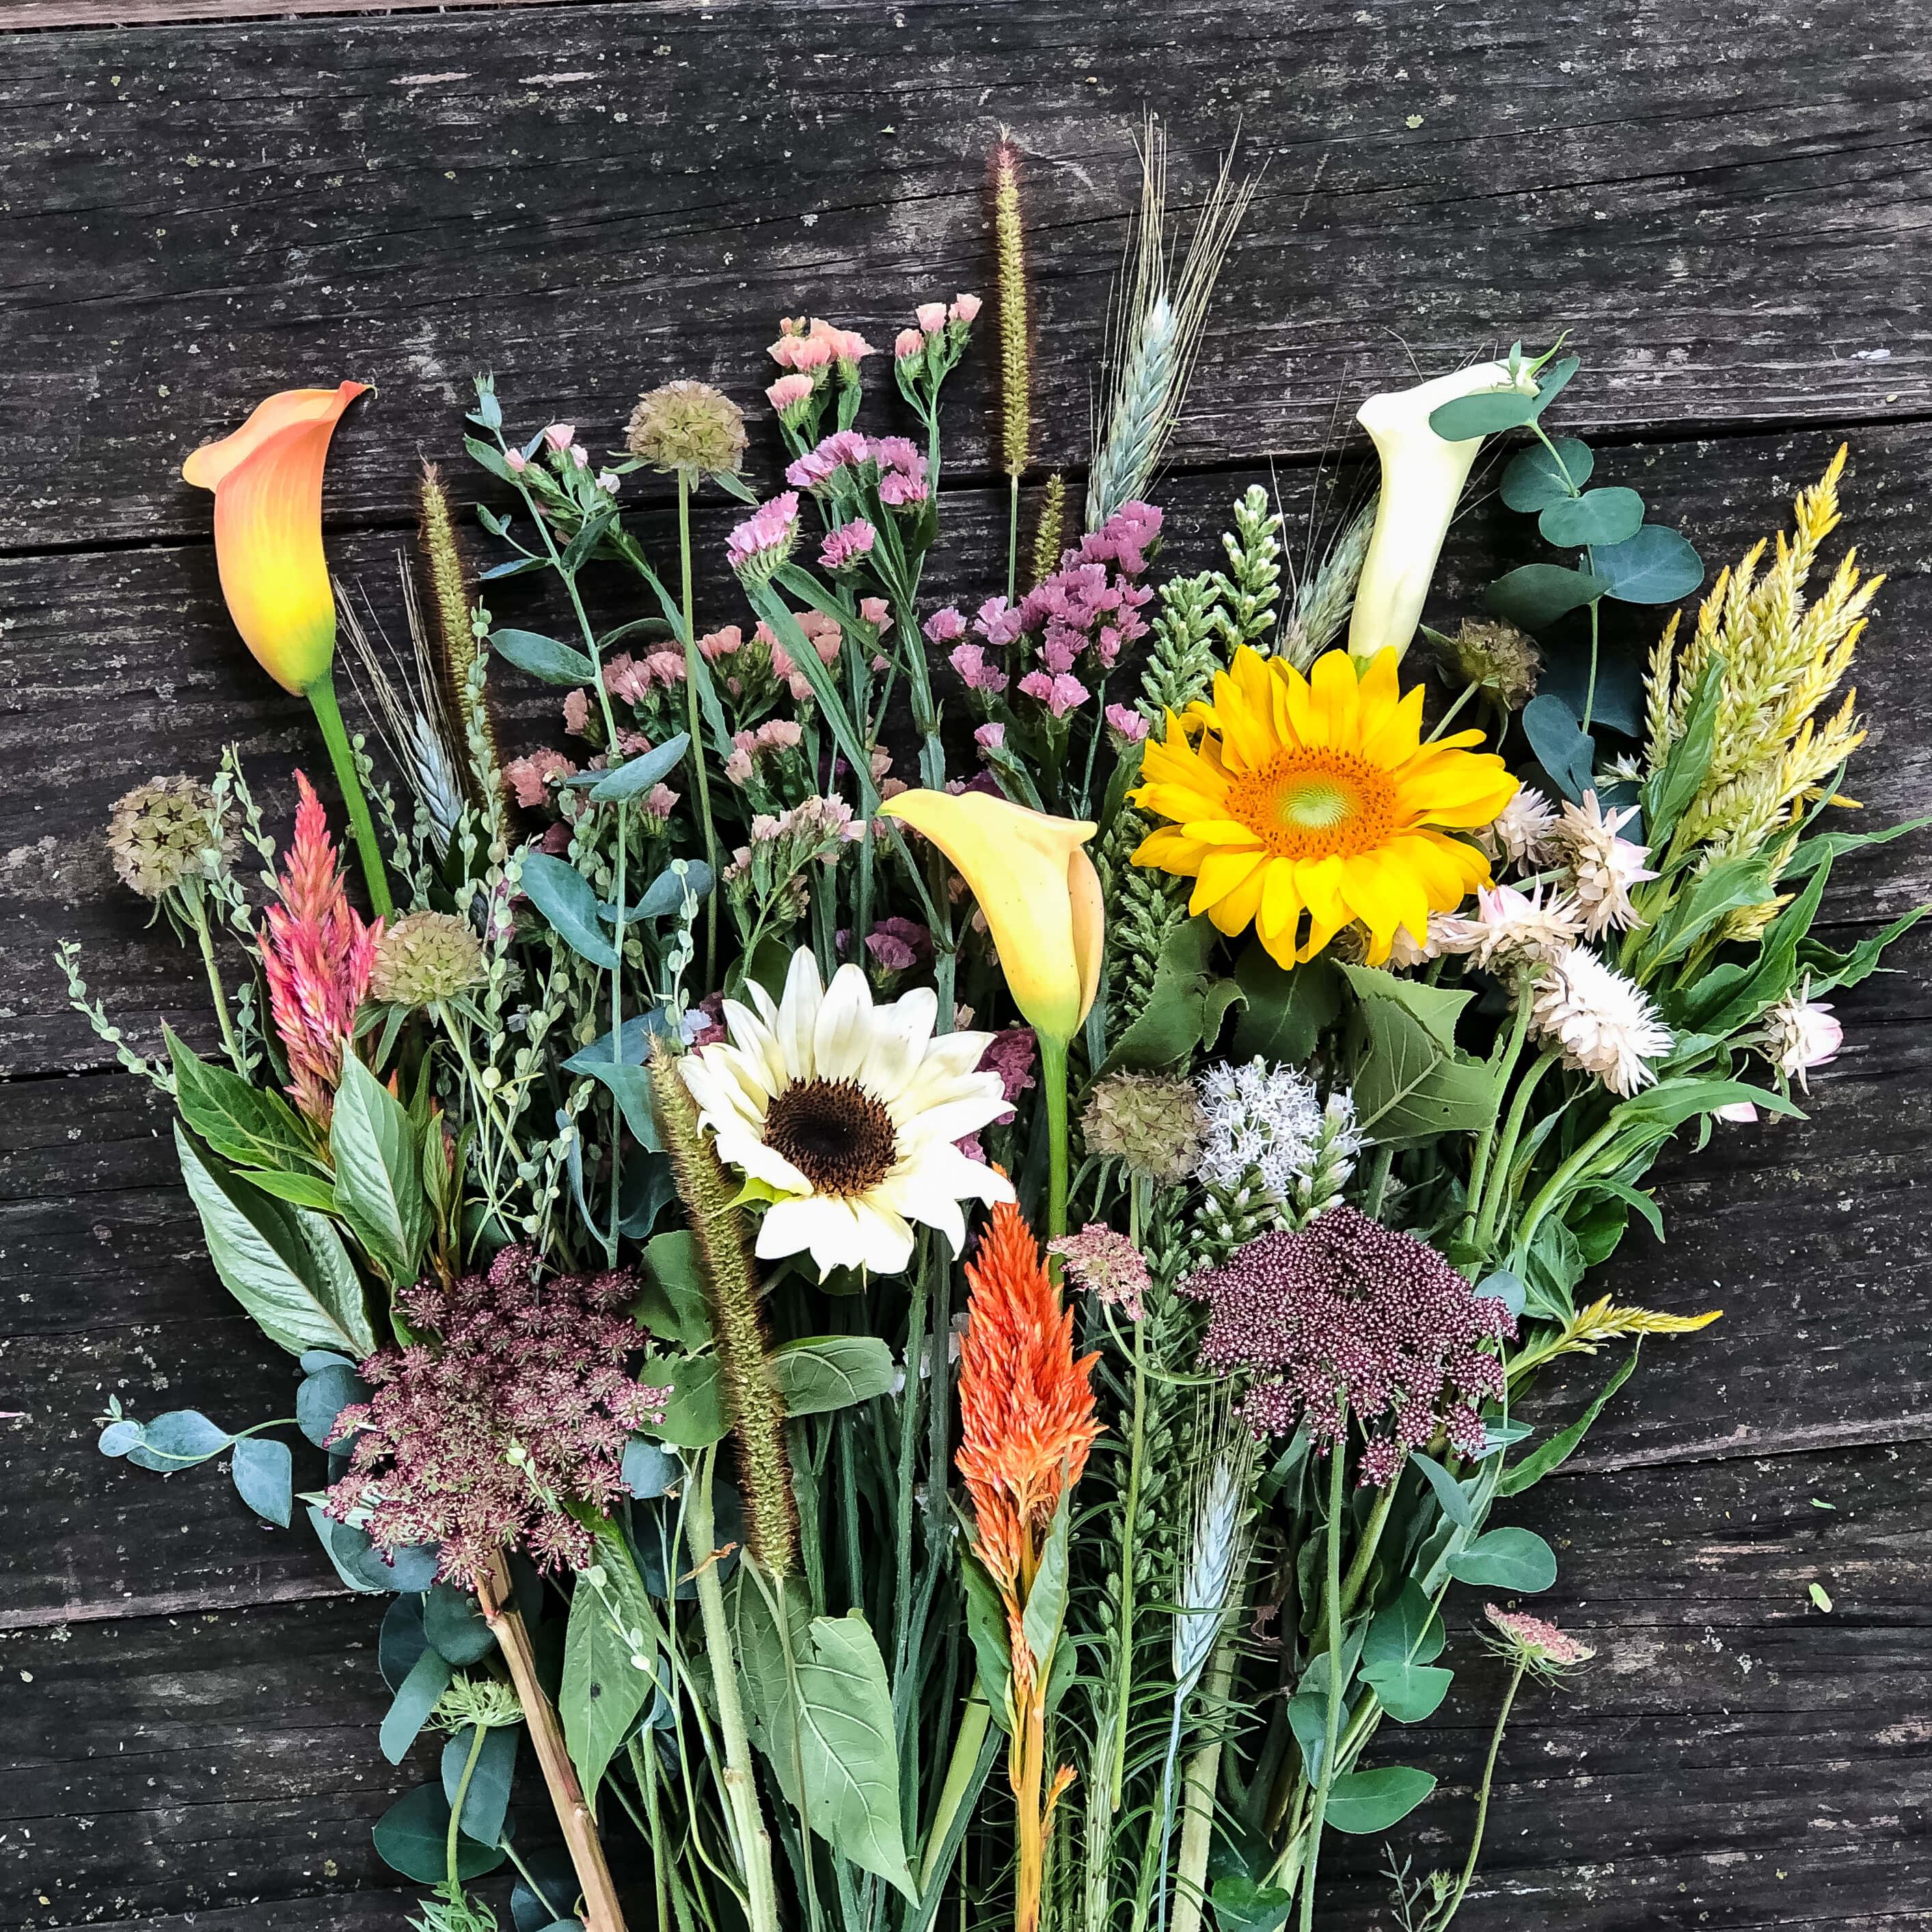
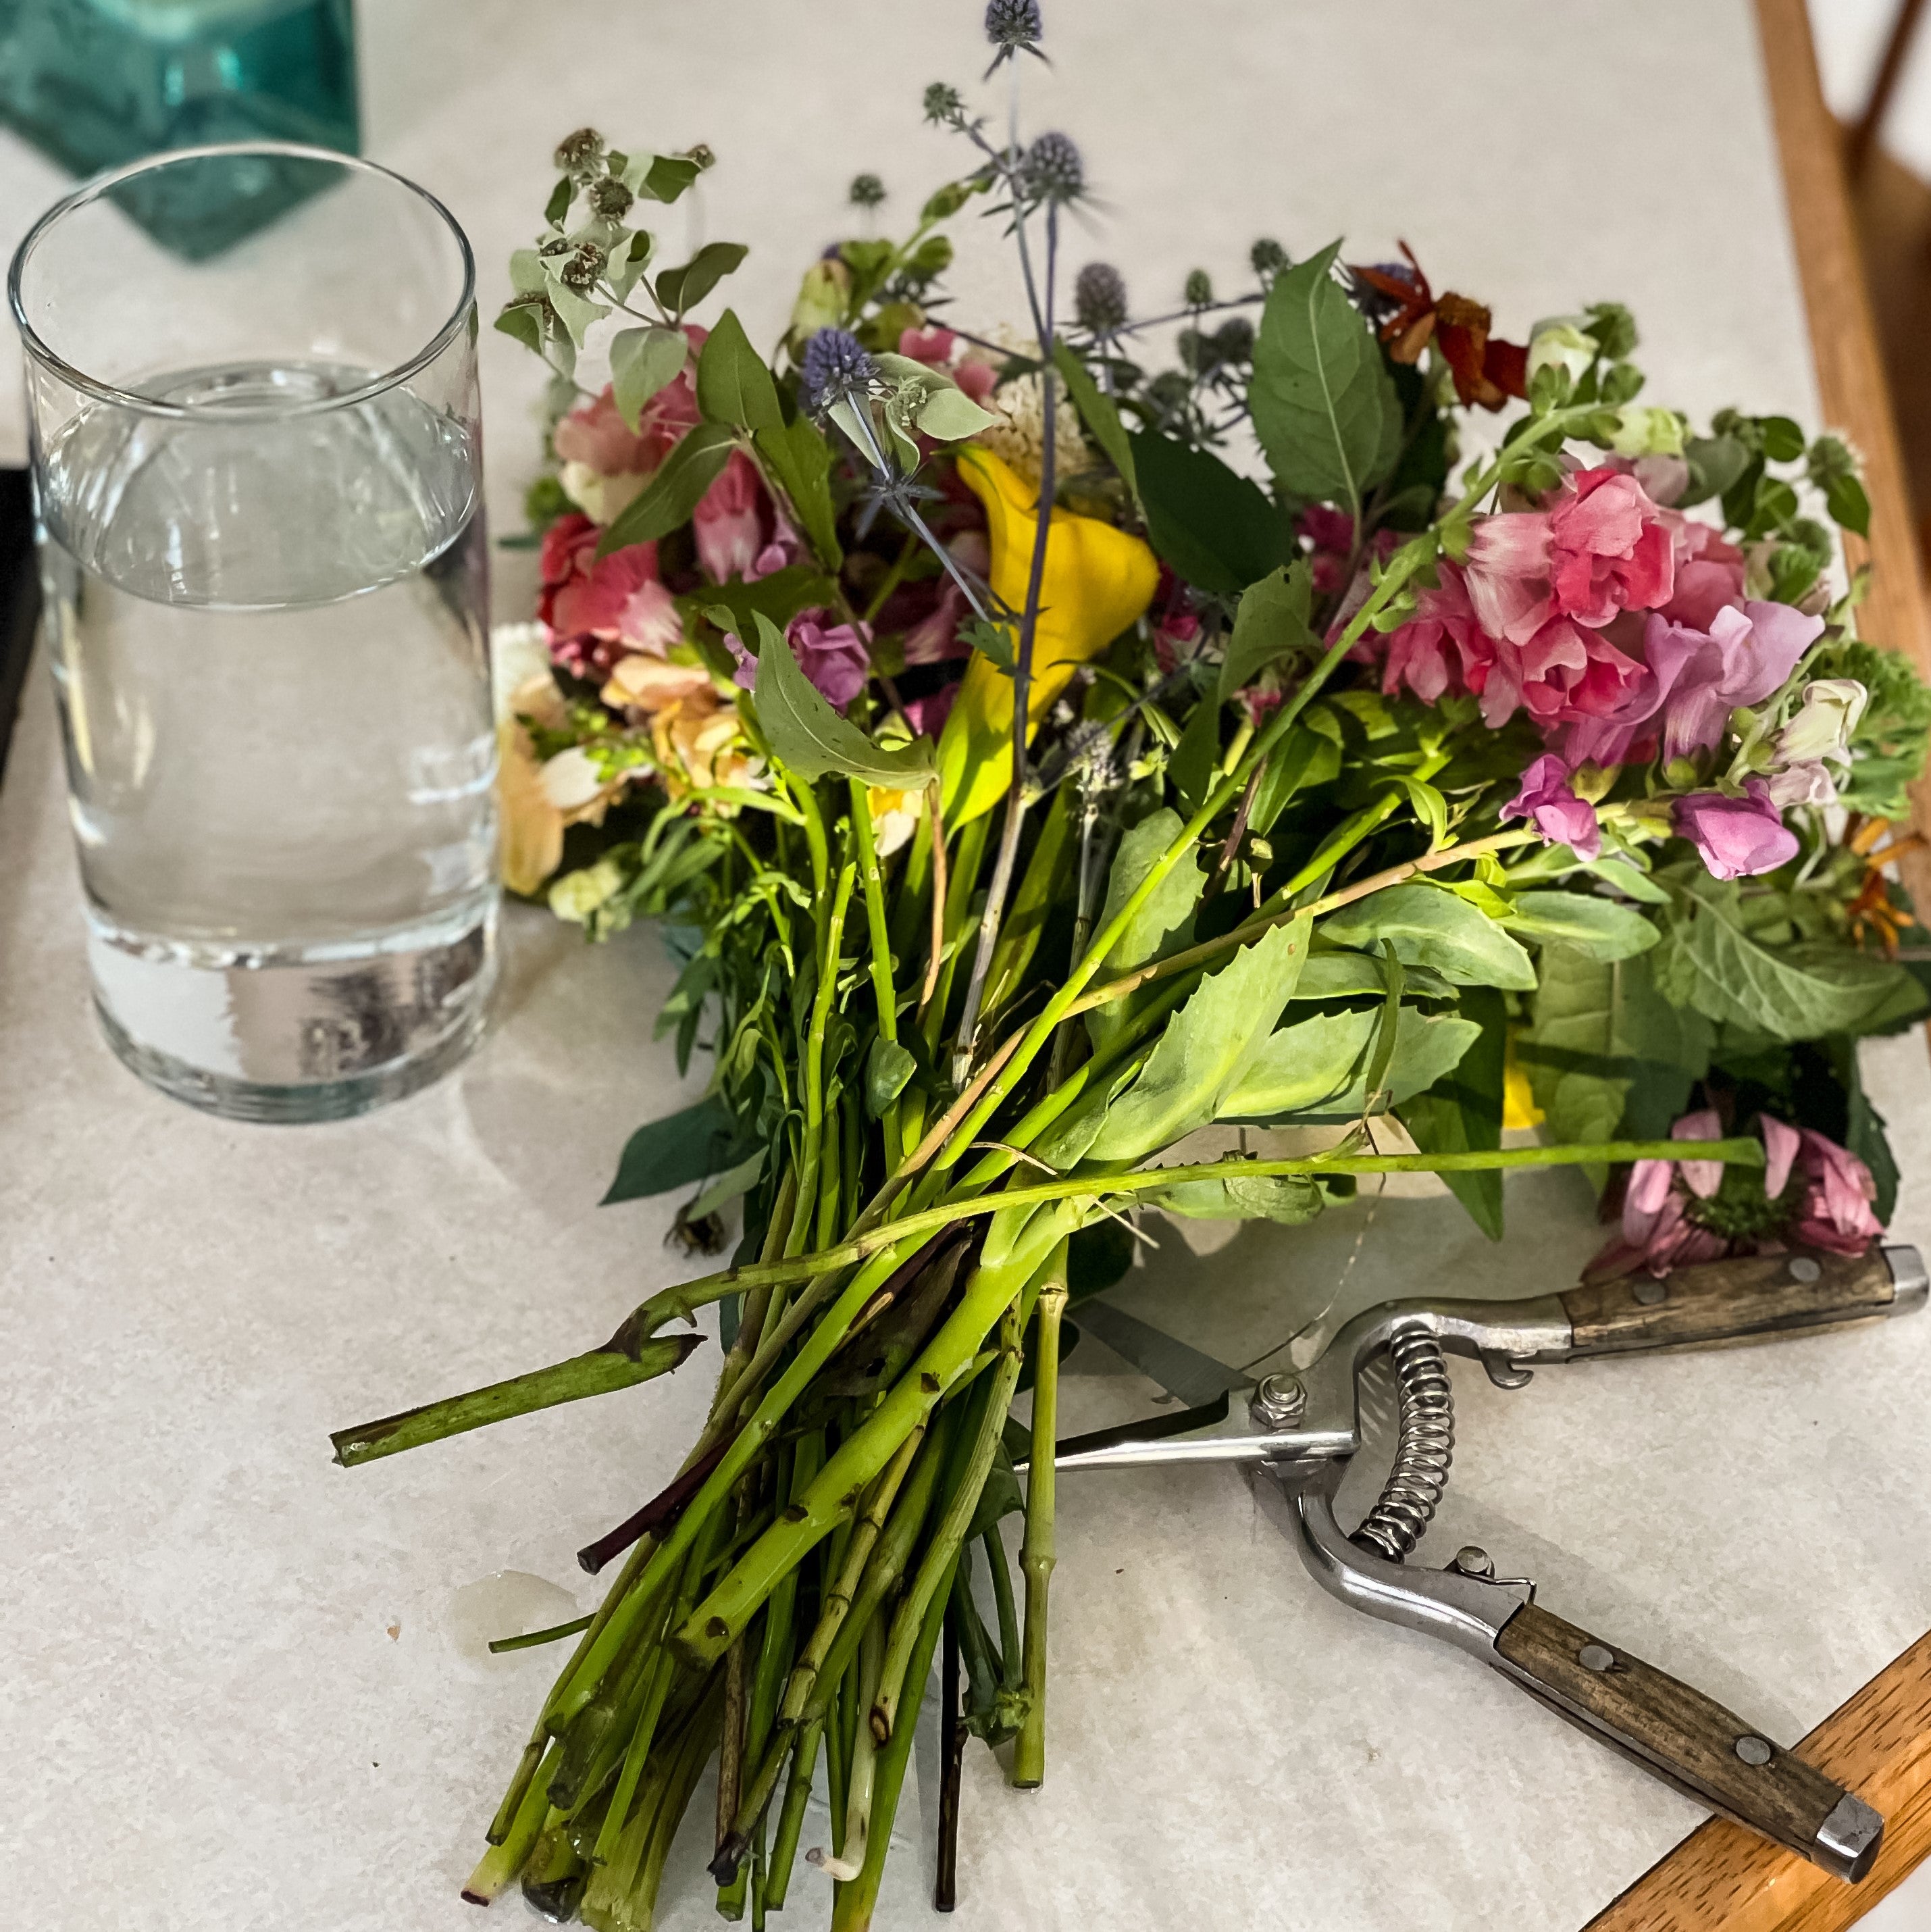
I designed Catherine’s bridesmaids’ bouquets about the same size as our Stunner Bouquets, but when Catherine sent me a photo of the dress she picked out, I knew what I needed to do for her bridal bouquet: a cascade.

Truth be told, cascade bouquets aren’t my absolute favorite (just personal preference), but with such a beautiful, fairytale dress, she needed something with impact. Cascade bouquets are easier to design than they look, as long as you have some nice vine-y greenery to work with and longer flower stems (amaranth is PERFECT for cascade bouquets, but I used stock and delphinium to extend the color down), you can do it yourself. I used a spiral method to create her bouquet, which I learned from Amy Balsters’ online course “Bouquet Bootcamp”, but you can find YouTube tutorials and other resources online to achieve this technique.
 |
 |
Materials:
|
Travis’ Floral Lapel:

This was something I’d never done before, but the results were AMAZING (if I do say so myself). It was actually easier than I expected, since the materials and techniques I used are similar to how I make corsages. I used KT tape (yep, the stuff athletes use for injuries and pain) as a base, got a tracing of Travis’ lapel, cut the tape to that shape, and used floral glue to attach the blooms. It ended up being a little heavy, so although the KT tape is adhesive and it probably would have stayed by itself, I used corsage pins to secure it to the lapel from the back. If you want something impactful for any suit-wearers on your wedding day, this is absolutely the way to go - I even heard some other wedding guests whisper about how cool it was when he walked down the aisle!
 |
Materials:
|
Floral Pocket Squares:

One of the things I really enjoyed about designing for Catherine’s wedding was how much fun we had with all of the men’s flowers. Not only did Travis go all out with his floral lapel, but all of his groomsmen opted for floral pocket squares. We do offer this product to purchase if you’d rather let me design them, but if you’d like to try your hand at it, it’s not too difficult. You’ll want a piece of cardboard that will fit into the breast pocket with about 1½” extra sticking out the top, wrap all of it with ribbon, and use floral glue to attach your blooms.
Materials:
- Cardboard (or other sturdy cuttable material)
- Silk ribbon (1¼”)
- Glue dots (I use these to attach the ribbon to the cardboard, but you can use whatever you have)
- Floral Glue (As mentioned above, my favorite is Oasis)
 |
 |
Boutonnieres:
I made two boutonnieres for Catherine’s brother and father, but even after explaining to all the guys in the groom’s suite who they were for, they somehow got forgotten in the room - and despite having the floral designer there at the wedding, no one told me! Luckily, Stephanie swooped in and saved the day by throwing together a couple quick bouts and secured it with - of all things - medical tape! This just goes to show that you don’t need to be a seasoned floral designer to do this, and even though I’m listing the supplies I used for everything, you can get creative and use what you have on hand 🙂
 The Boutonnieres I made were found the next day.
|
 Stephanie's last-minute medical tape boutonniere she slapped on Logan moments before the ceremony. 😂
|
Materials:
- Green waterproof tape (¼” width)
- Thin silk ribbon (¼”)
-
Boutonniere pins
Wrist Corsages:
Most of the corsages we offer are made with silk ribbon to be tied around the wrist, but Catherine found some metal cuff bracelets she wanted me to use, and they were so much fun! I used the same KT tape on the cuff to adhere the flowers to, since the glue doesn’t adhere to metal very well. Whether you use a metal cuff or stick with the classic ribbon tie, you’ll want to wrap some KT tape around the middle to attach the flowers to, and make sure none of that KT tape shows when it’s done. For what it's worth, while Catherine really loved the metal cuffs, she said if she were to do it again, she'd use ribbon to be able to adjust the tightness on her mothers' wrists. Something to keep in mind!
 |
 |
Materials:
- Metal cuff bracelet (you can search for these as “metal cuff blanks,” or use whatever you like)
- KT Tape
- Floral glue
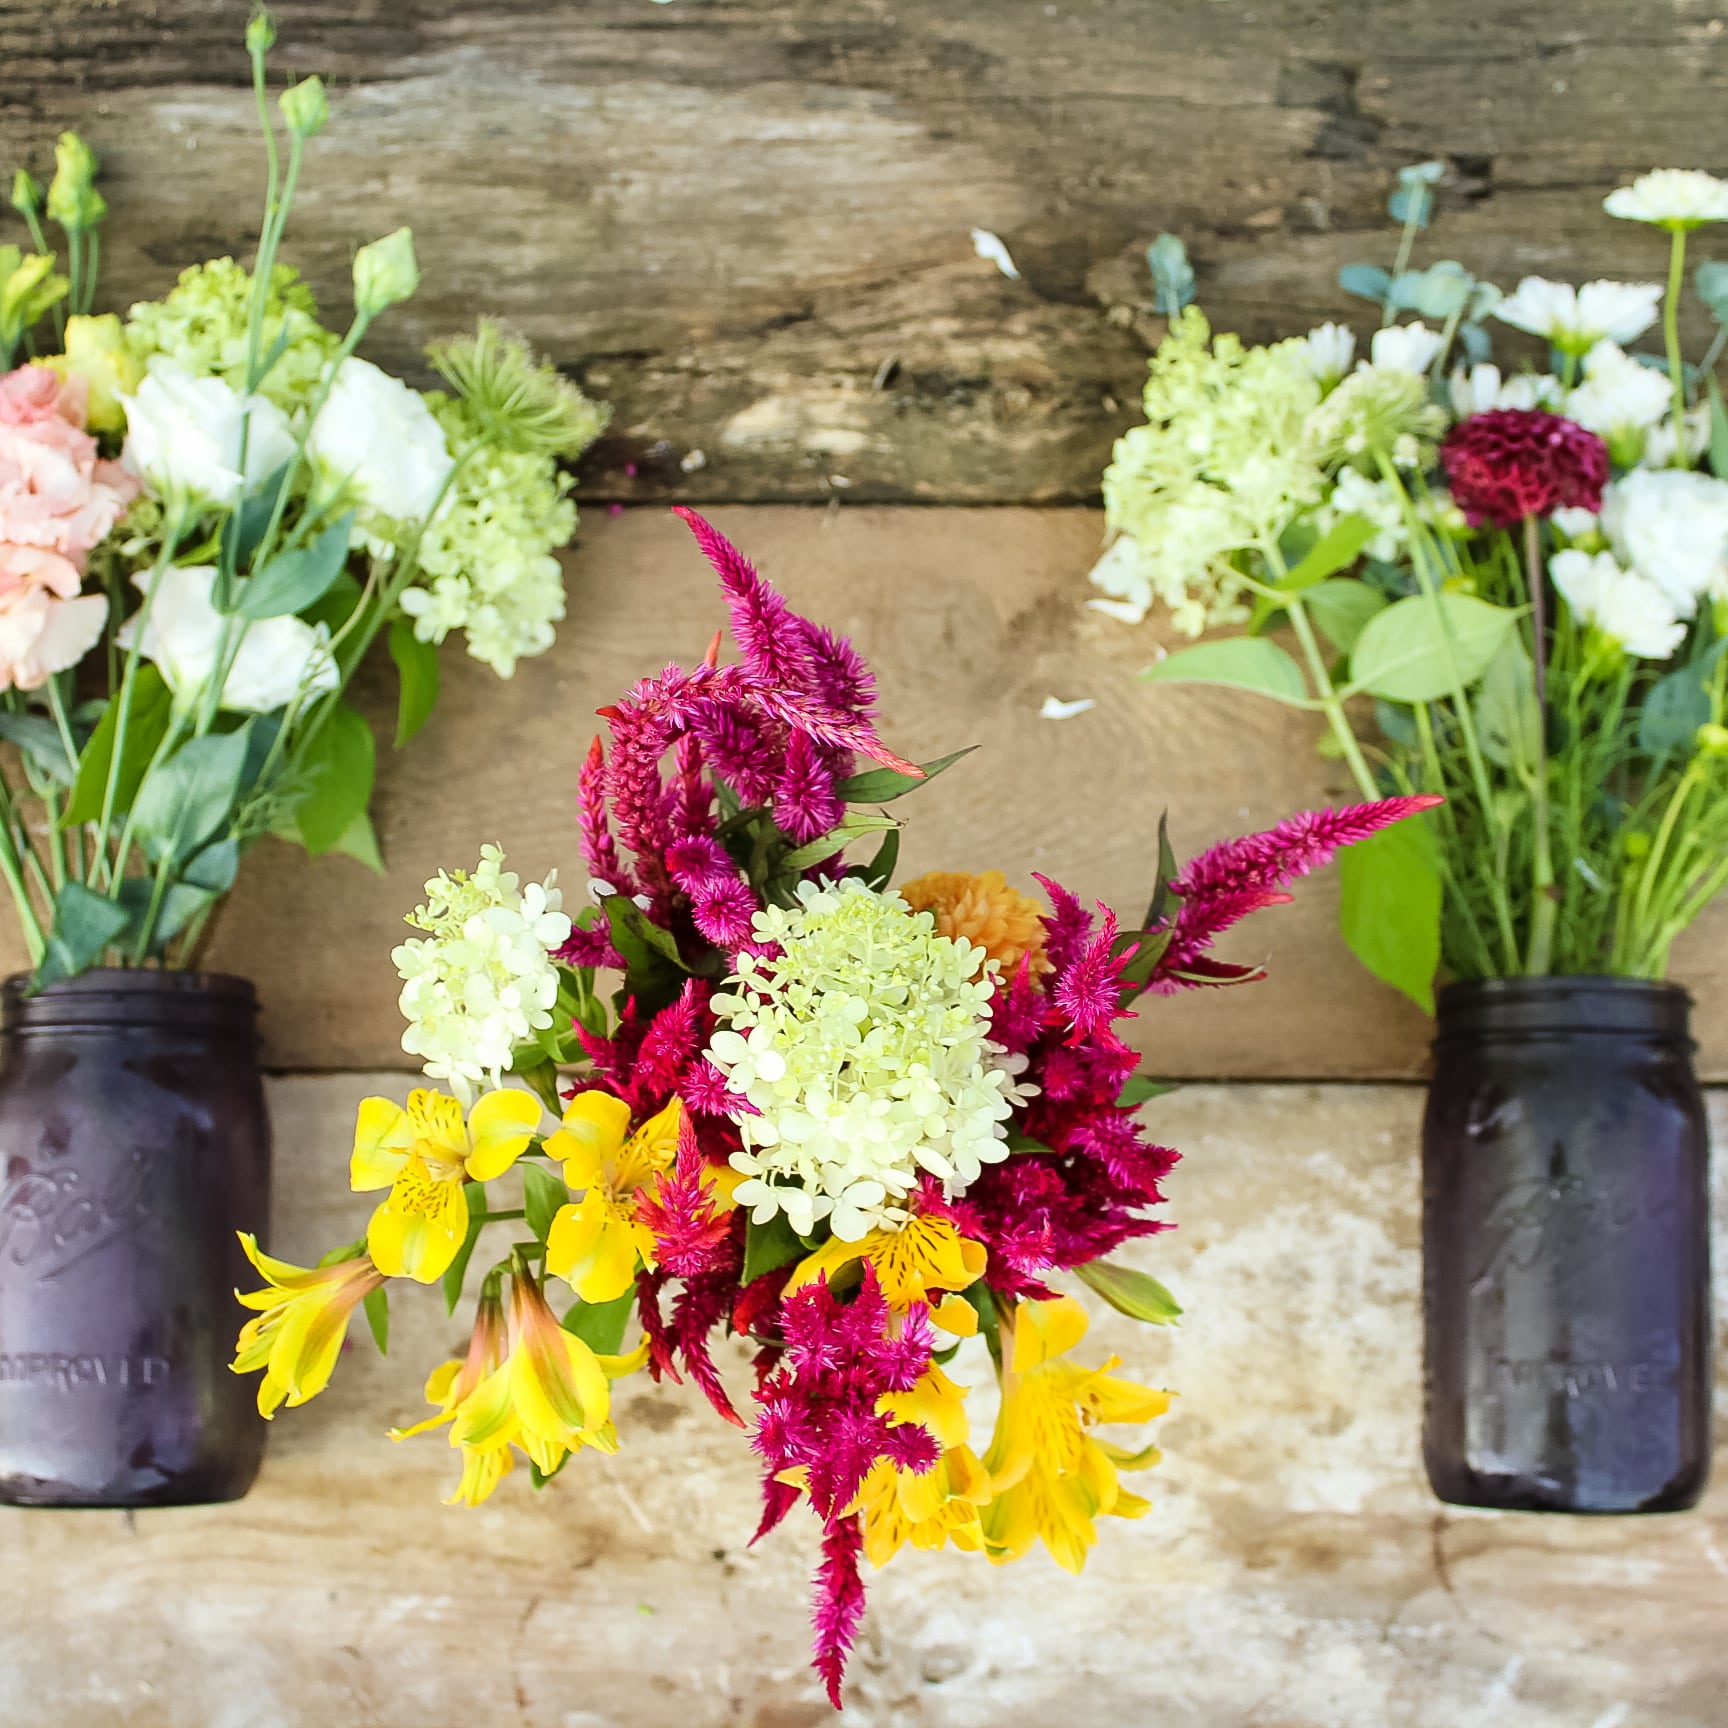
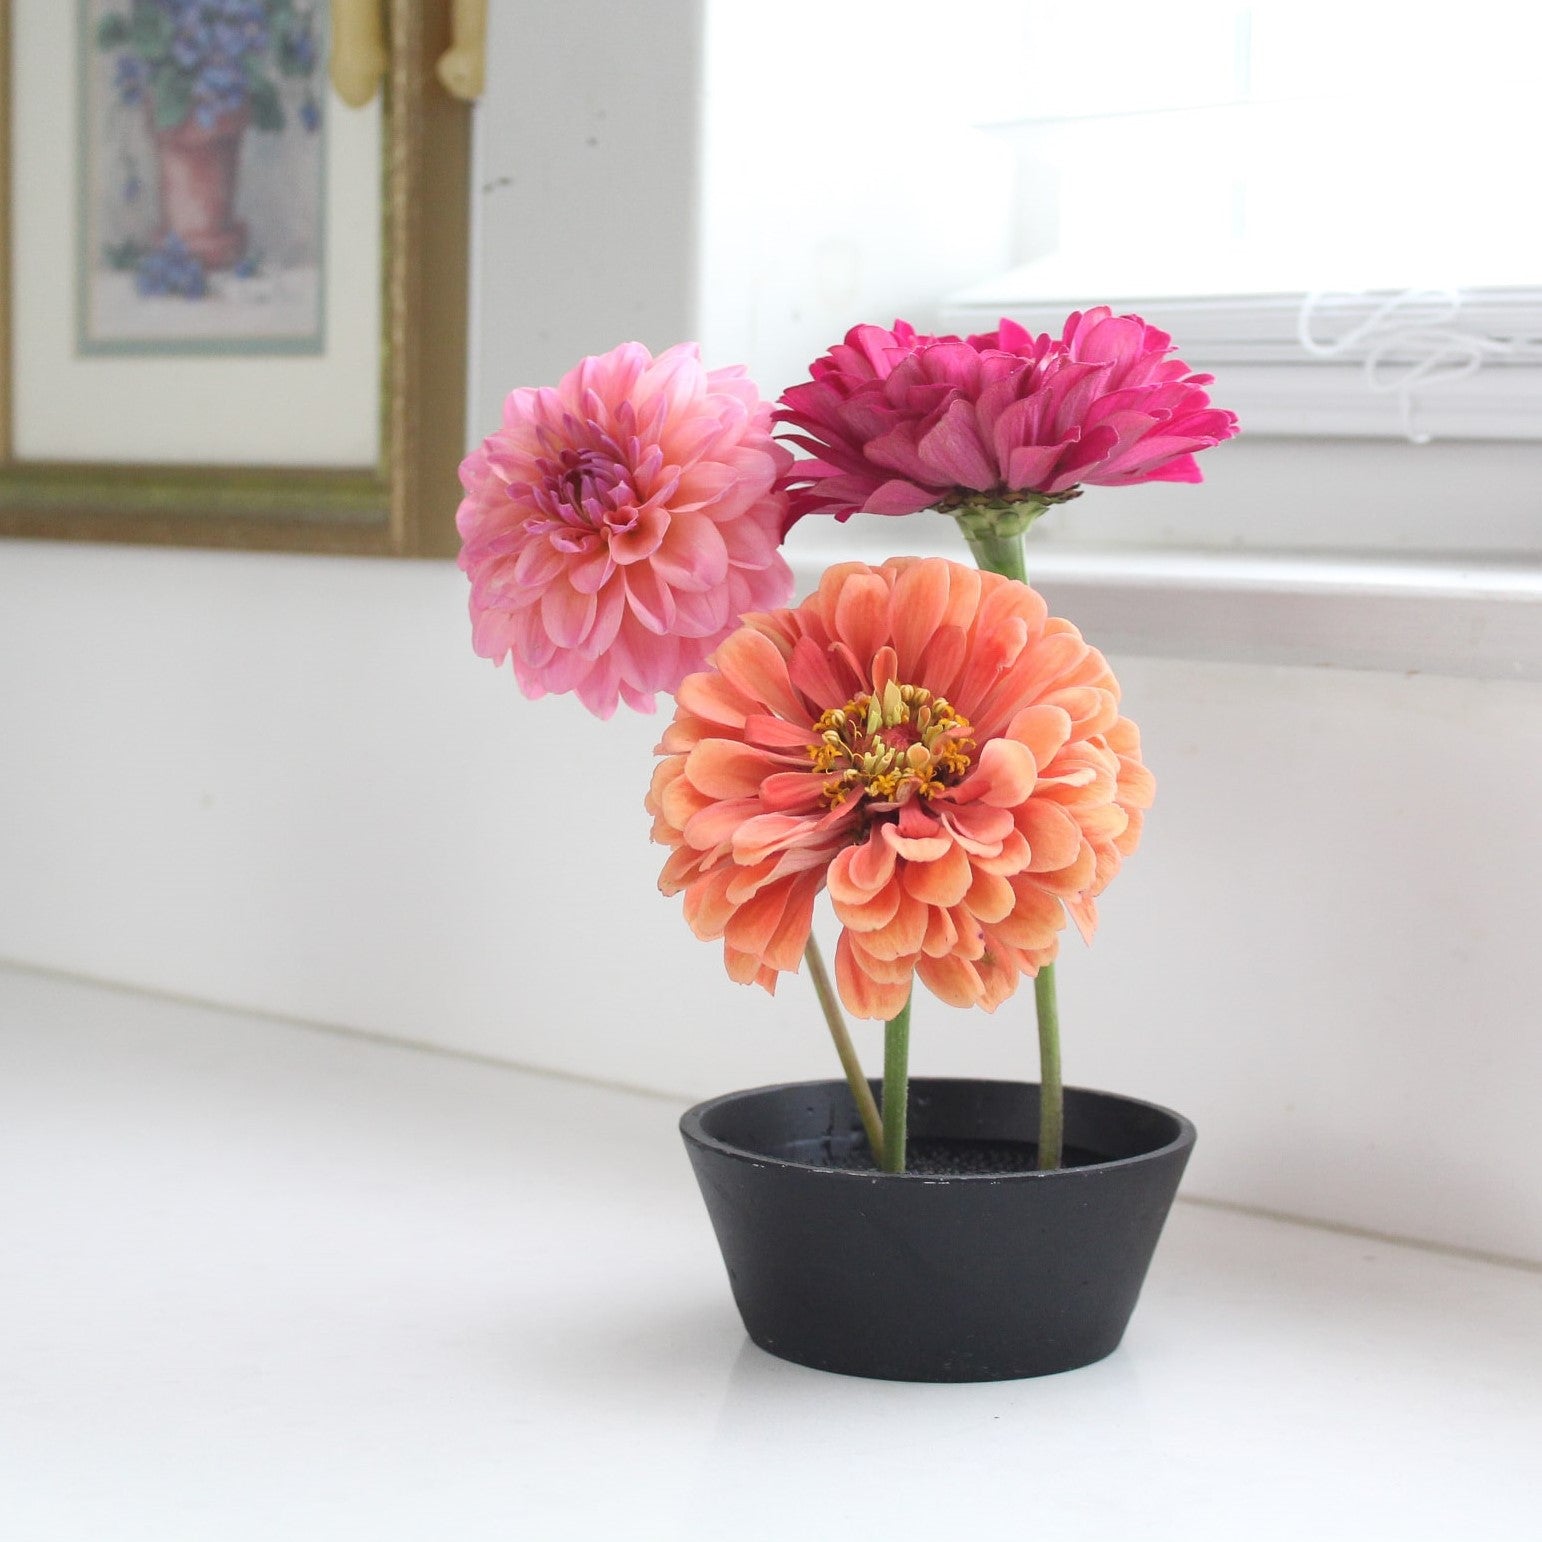
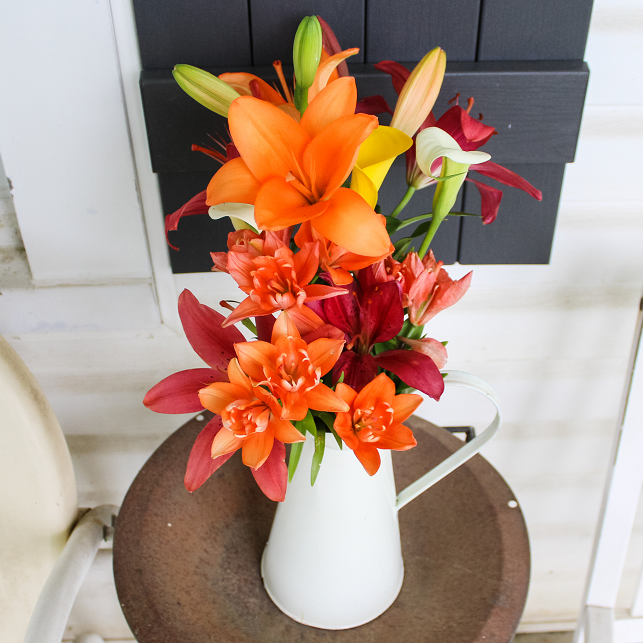
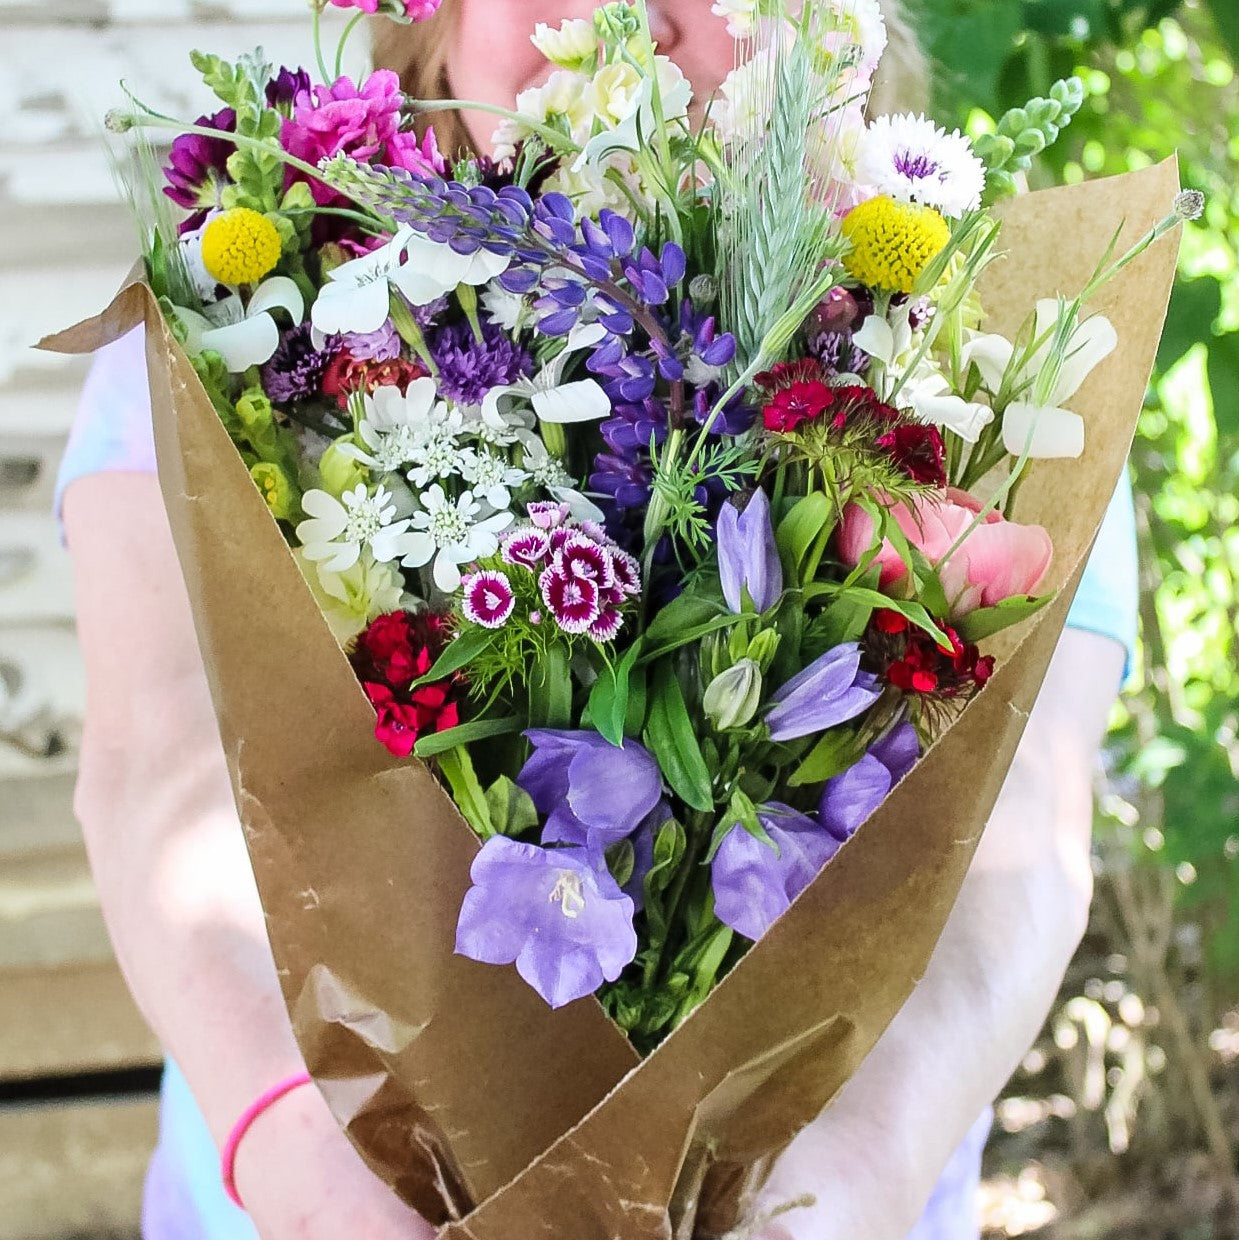
Bud Vases:

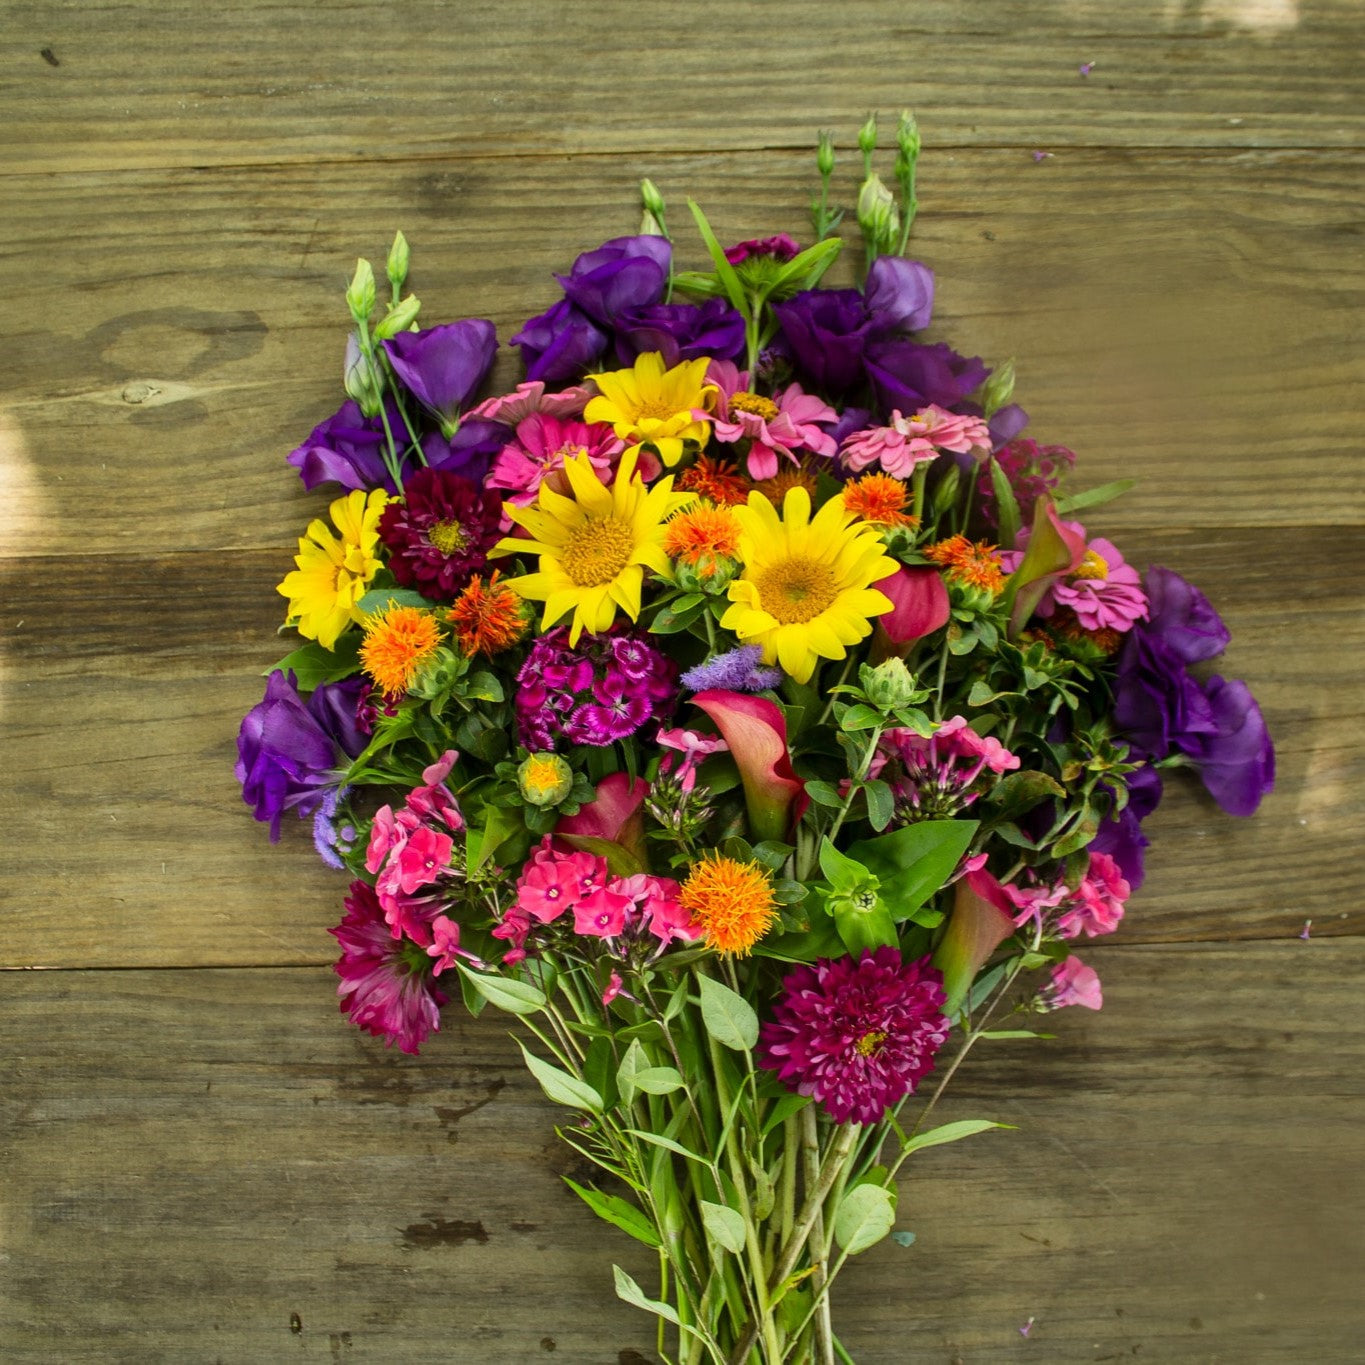
Bud vases are one of my absolute favorites when it comes to wedding decor - they’re super easy to put together, don’t use very many flowers, and I love their whimsical vibe. I made 3 for each of the tables, and I typically use 1-5 stems per vase. If you’re calculating the amount of stems you’ll need, I typically account for 3 stems per vase.
Materials:
- Bud vases - these are really easy to find, and have a lot of options for size, color, and shape to match any decor. I personally prefer mismatched vases!
- Bulk Flowers!
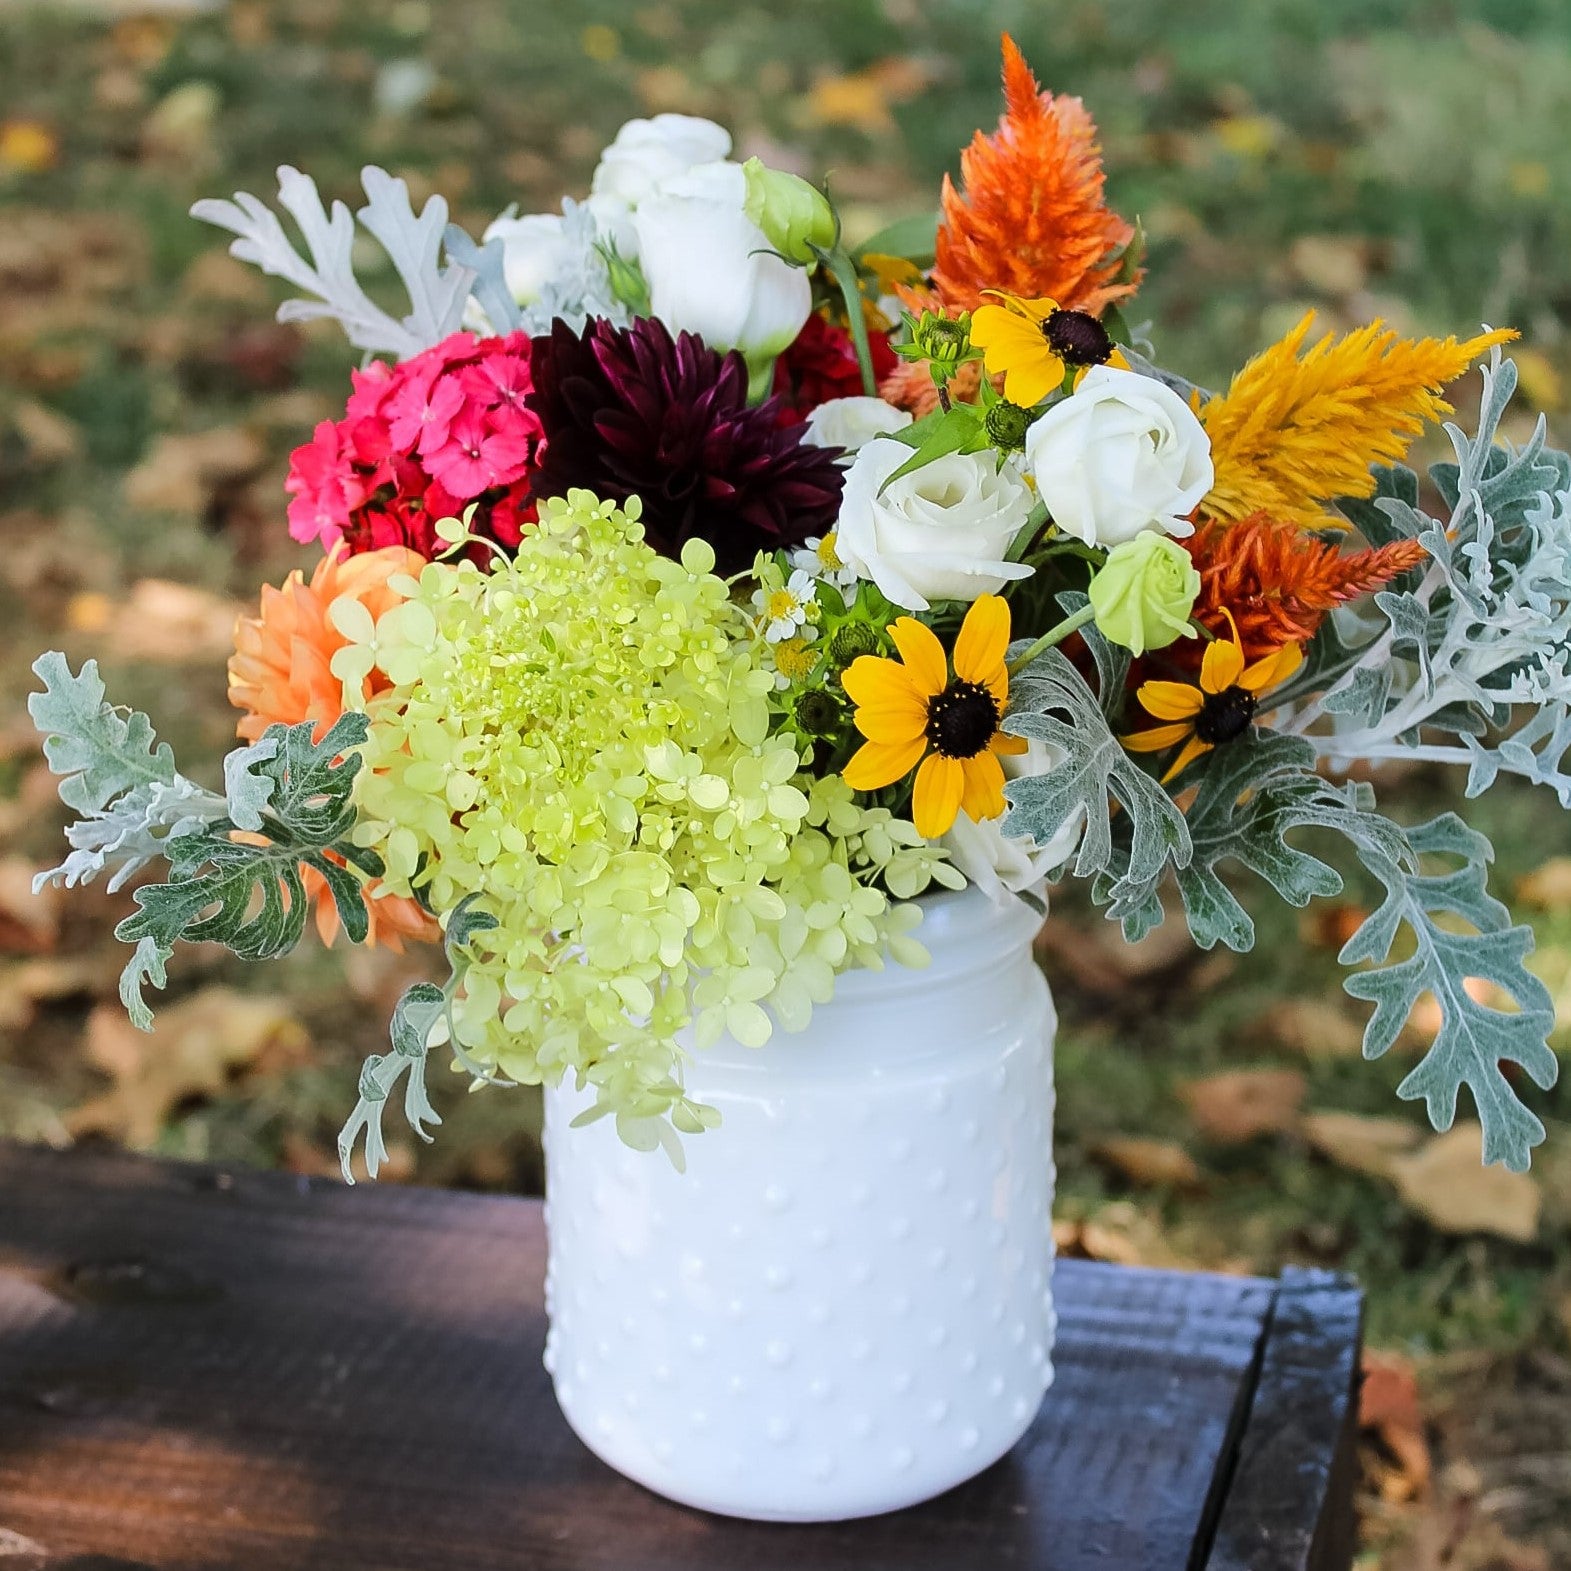
Bar Arrangement:
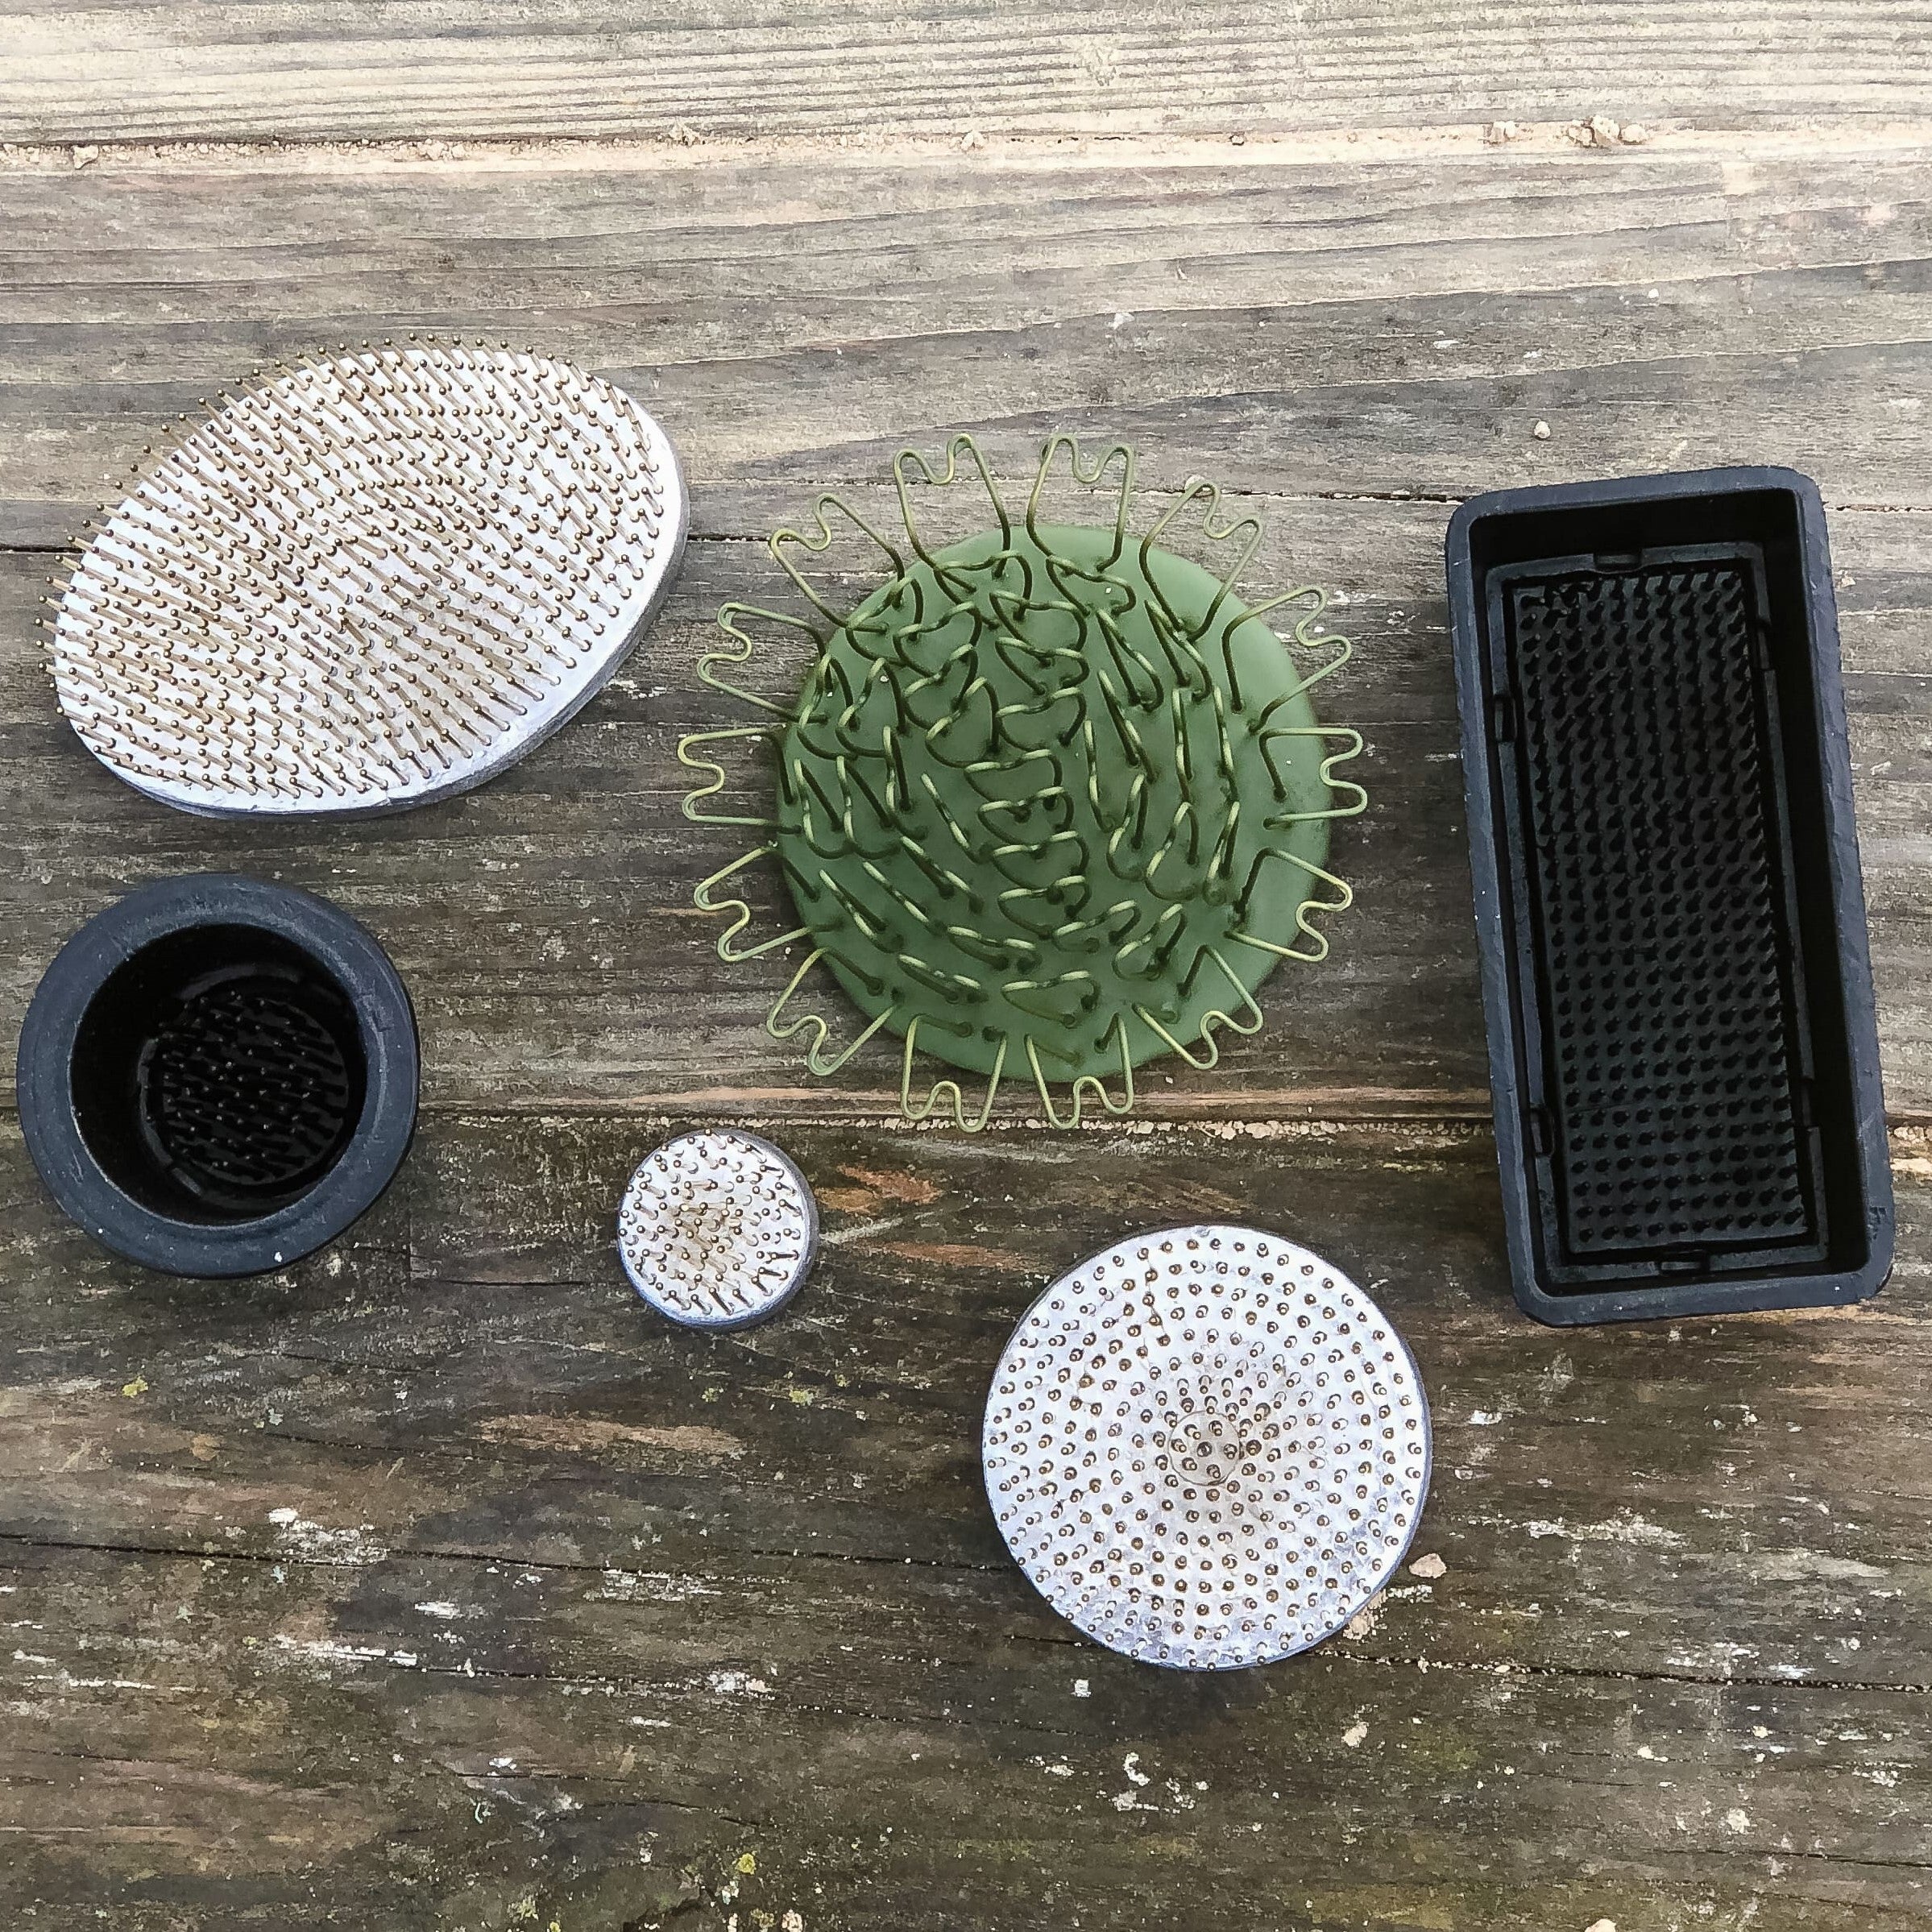
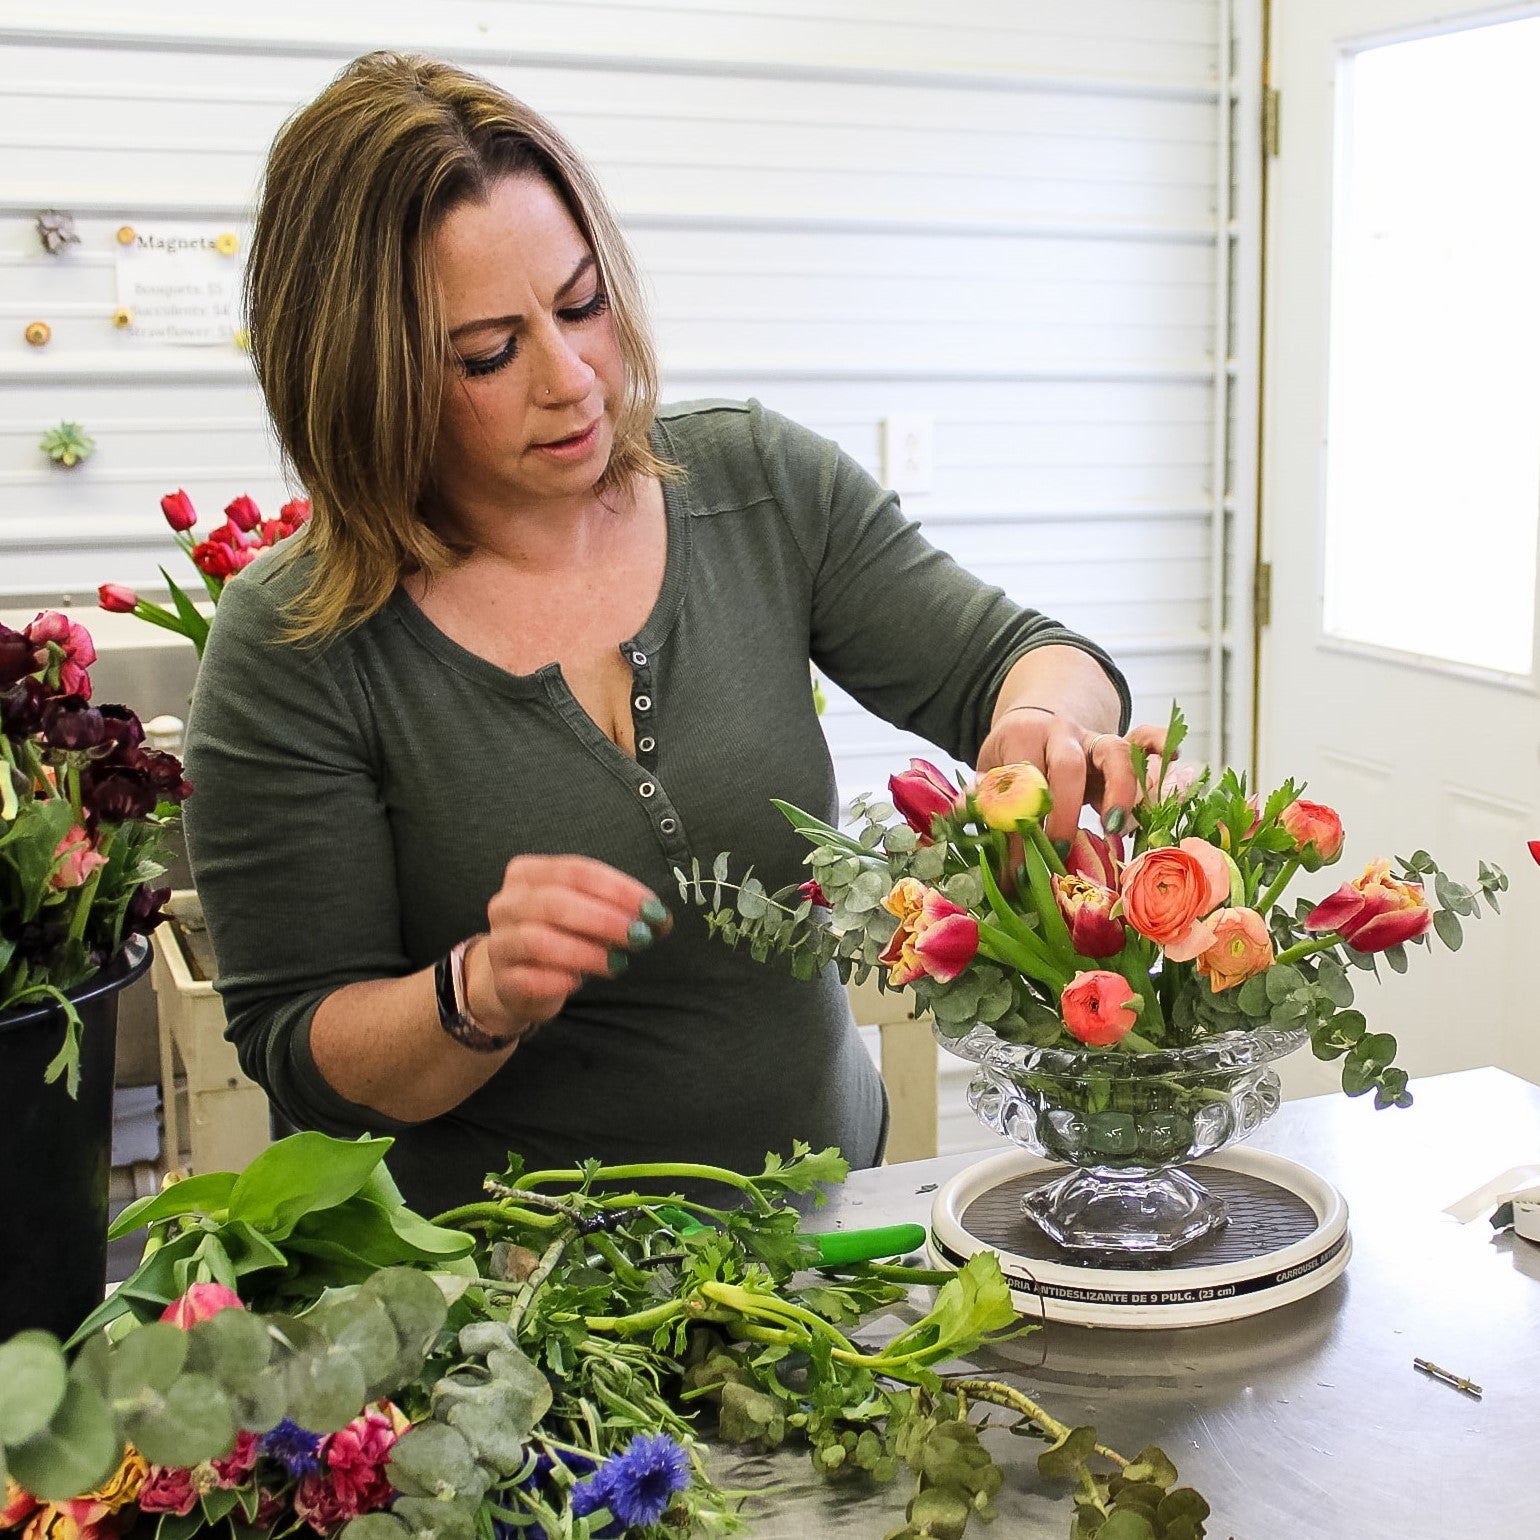
I made a large arrangement in a compote vase to set on their bar at the reception area, and while I made the arrangement ahead of time, I added some vining greenery on site to add some whimsey. For compote style arrangements, I like to have some sturdy mechanics to hold all of the flowers in place. You can use what you prefer, but as a foam-free floral designer, I used a hairpin flower frog which made designing super easy. I also like to add a “tape grid” for extra support, which is just using clear tape to create a grid pattern across the top of your vase.
Materials:
- Compote style vase
- Hairpin holder flower frog (I recommend the biggest size that will fit in your vase)
- Sure Stik (this is an adhesive putty to secure your frog to the bottom of the vase. I’ve also used plumber’s putty in a pinch!)
- Clear tape
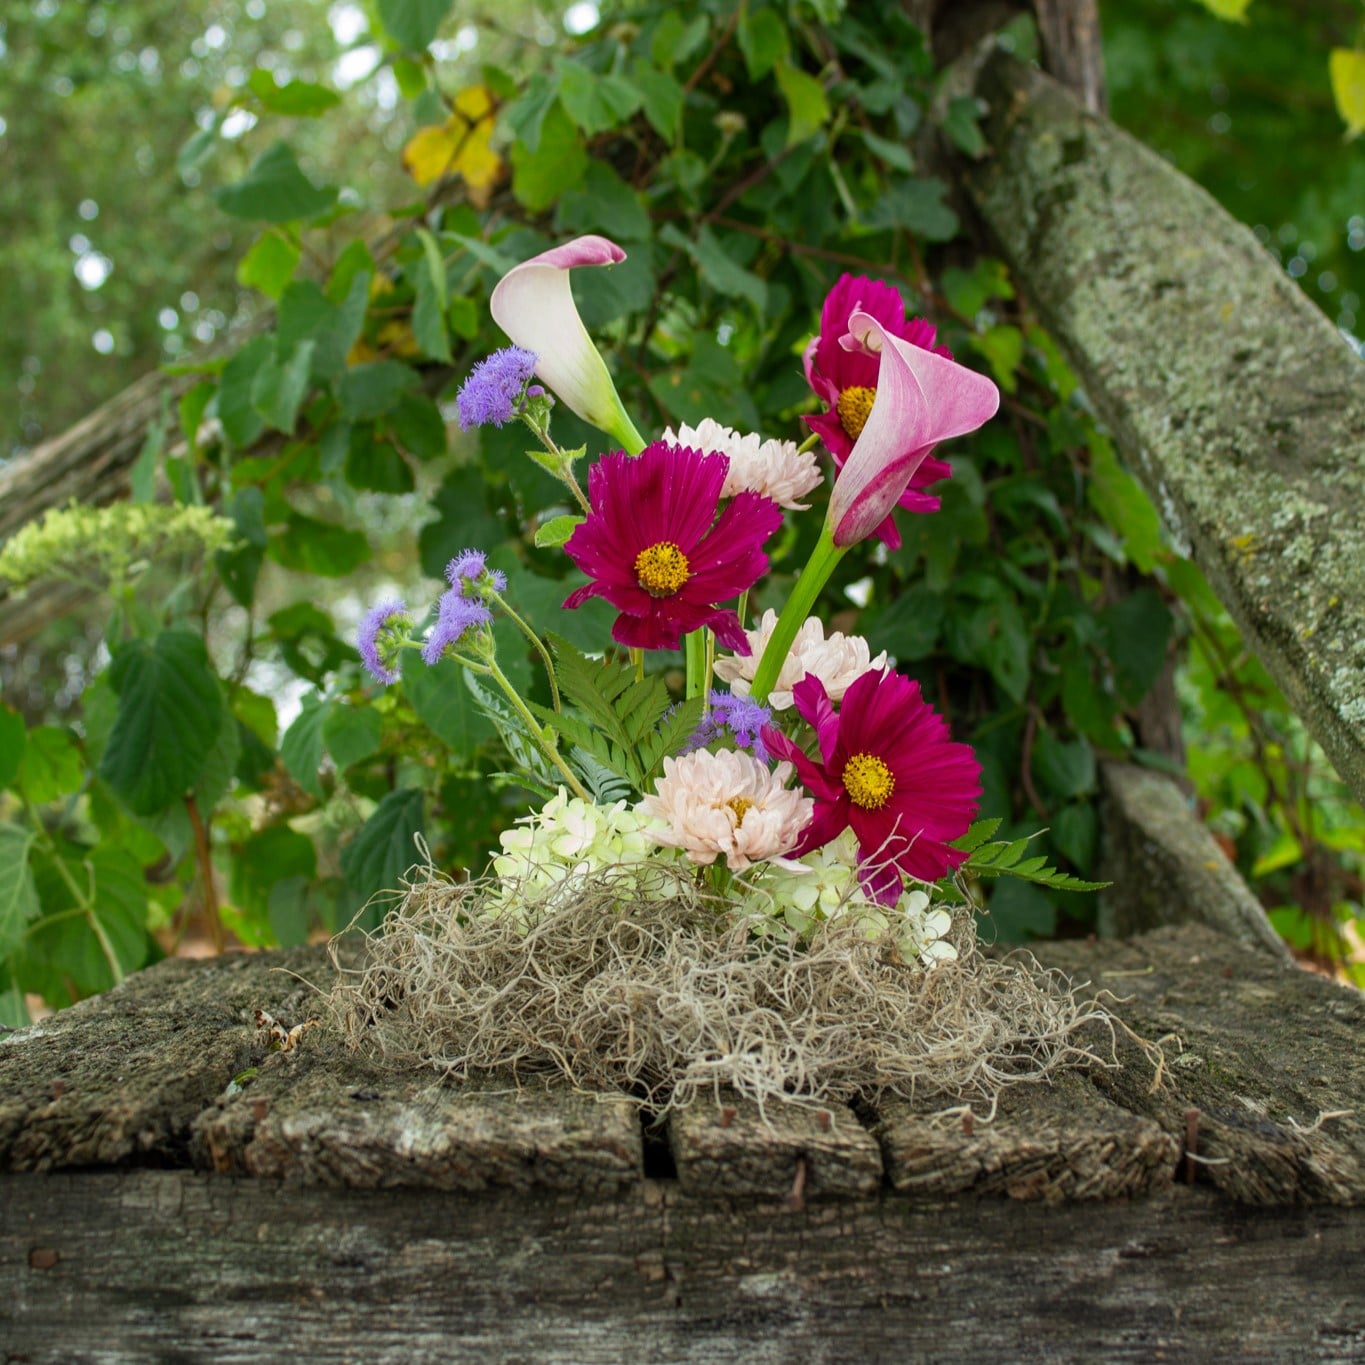
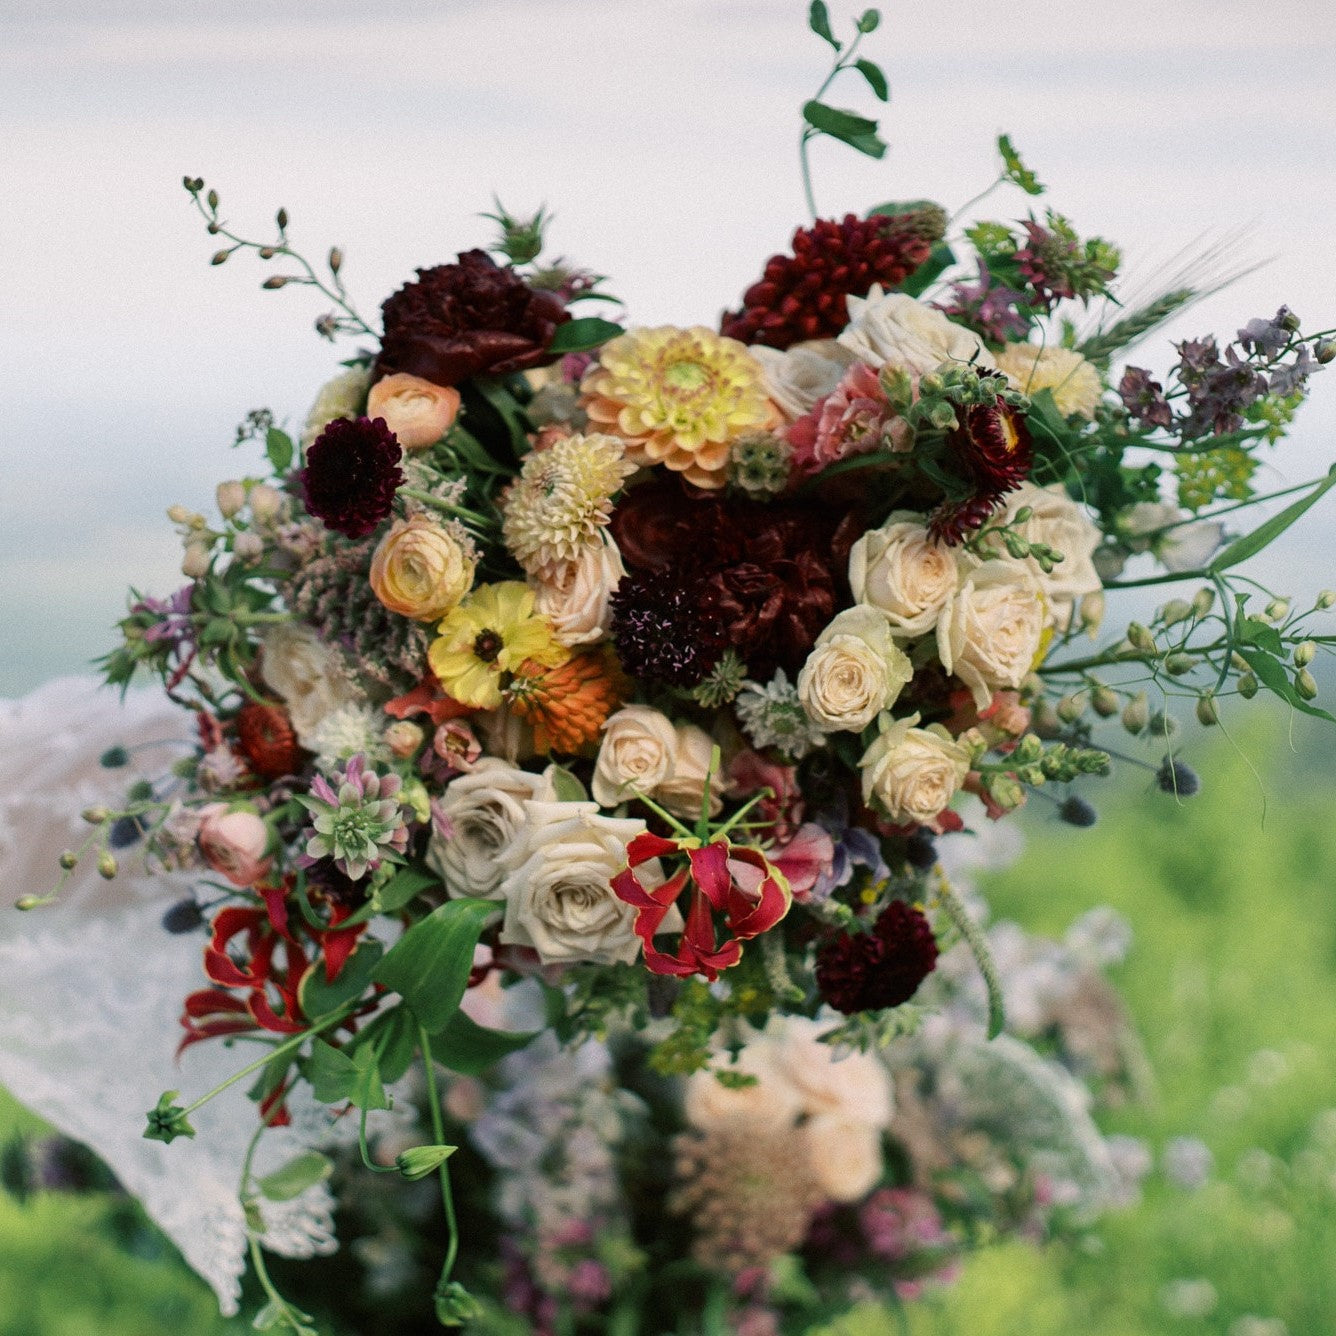
Sweetheart Table:

This was my favorite piece to design! Since arrangements like this are often made with floral foam, and I don’t use foam in my designs, AND it’s not a product we typically offer so I don’t have any mechanics on hand specifically for this piece, I had to get a little creative. I had a stash of Oshun Pouches, which are a foam alternative that are home compostable and biodegradable, and I MacGyver-ed them along with some design dishes, wire, and some broken cardette picks to keep the two dishes from folding over. The mechanics looked a little…questionable, but luckily they’re hidden behind all of the beautiful flowers! This is a great example of just using the materials you have, and getting creative with mechanics.

Materials:
- Oshun Pouches (I used 2)
- Lomey dishes (these are plastic dishes to catch the water drippings from the pouches and also add support. I rigged two of these together with the wire and something flat and sturdy on the bottom.)
- Bind wire (you can also use twine)
Arbor:

I actually made two arbor arrangements, one over the ceremony spot, and one on a tall arch where the wedding party entered at the top of the aisle. The venue had lots of fake flowers stuck into dry foam when I arrived, so I took out the fake flowers (with the venue owner’s permission, of course) although I did leave some of the fake greenery on the sides. The ceremony arbor was actually pretty tricky to figure out, since I had nowhere to attach my mechanics to, and I was working up against a bunch of stiff, dry foam. I ended up stapling chicken wire to cover the foam and used that to hold the flowers in place. To keep the flowers hydrated, I used my go-to water picks (also called water tubes or aqua tubes) which are small tubes that hold water with a cap you can put your stems in. I was really lucky to have access to the venue for the full day, because this took up most of my time - both setting up my mechanics and arranging the flowers.

For the archway at the top of the aisle, I was able to use my typical arbor mechanic (which is also how I make the arbor arrangements we offer), which is a “burrito” of chicken wire stuffed with curly willow, and I attached that to the arch with zip ties, which is essentially what we offer on our Wedding Menu. If you have a standard arbor, I recommend the burrito method which can be made ahead of time and is easier to attach.
 |
 |
Materials:
- Chicken wire
- Curly willow (this is my preferred material to give more support to the chicken wire burrito, but you can also use discarded flower stems!)
- Water picks
- Zip ties
- Staple gun (if unable to wrap zip ties around a beam of the arbor)
Other General Supplies:

Besides everything listed above, you’ll want to make sure you have these tools on hand:
- Snips
- Scissors
- Trash bags for any discarded stems, leaves, or broken flowers
- Flower food for any vases
- Optional but recommended: Crowning Glory or other floral finishing spray - these help keep flowers hydrated and happy for longer, especially if they’re out of water like most wedding designs are.
- Backup supplies - while I put together most things ahead of time, I like to make sure I have extra supplies of everything on hand the day of for any last minute fixes.
While putting this whole wedding together was a lot of work, it was so fun to do and incredibly satisfying to see it all in action! Not to mention getting compliments on how it all turned out :) Catherine and Travis’ wedding was absolutely magical and perfect, and I was so lucky to be able to contribute to that. While I can’t deny that I have the help of experience and supplies at my disposal to put all the flowers together for them, anyone with the right tools and materials can put together their own wedding flowers as well! 💕